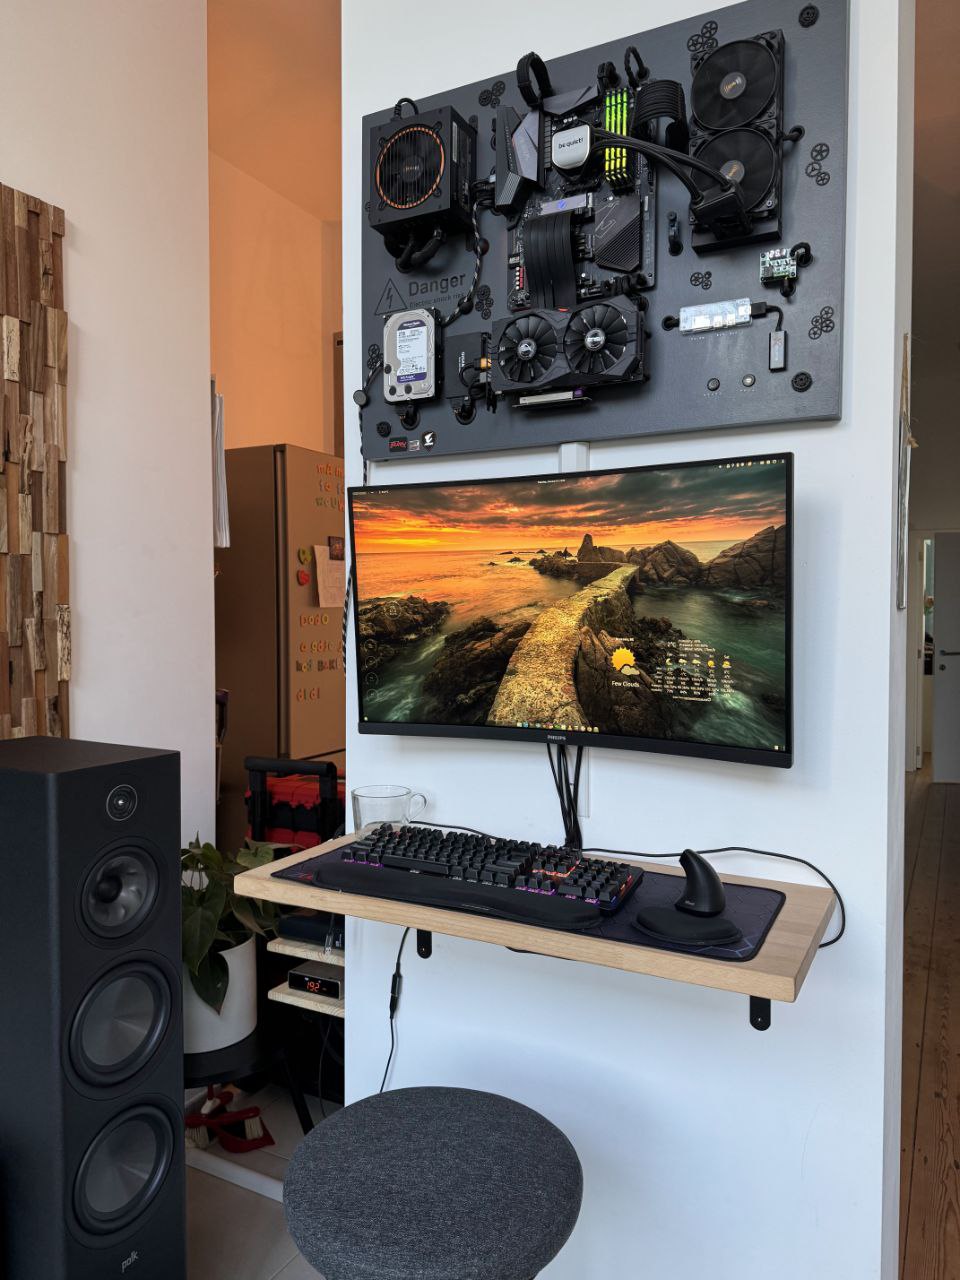
We all have that unused wall space — especially with tall ceilings.
Most people hang paintings or shelves. I decided to mount a fully functional PC instead.
The project started as a joke (“why not stick it on the wall, we’ve got space”),
but quickly turned into a serious DIY adventure with MDF, T-nuts, and more spray paint than I’d like to admit.
Goal: clean, open-frame wall-mounted PC with proper cooling and easy access.
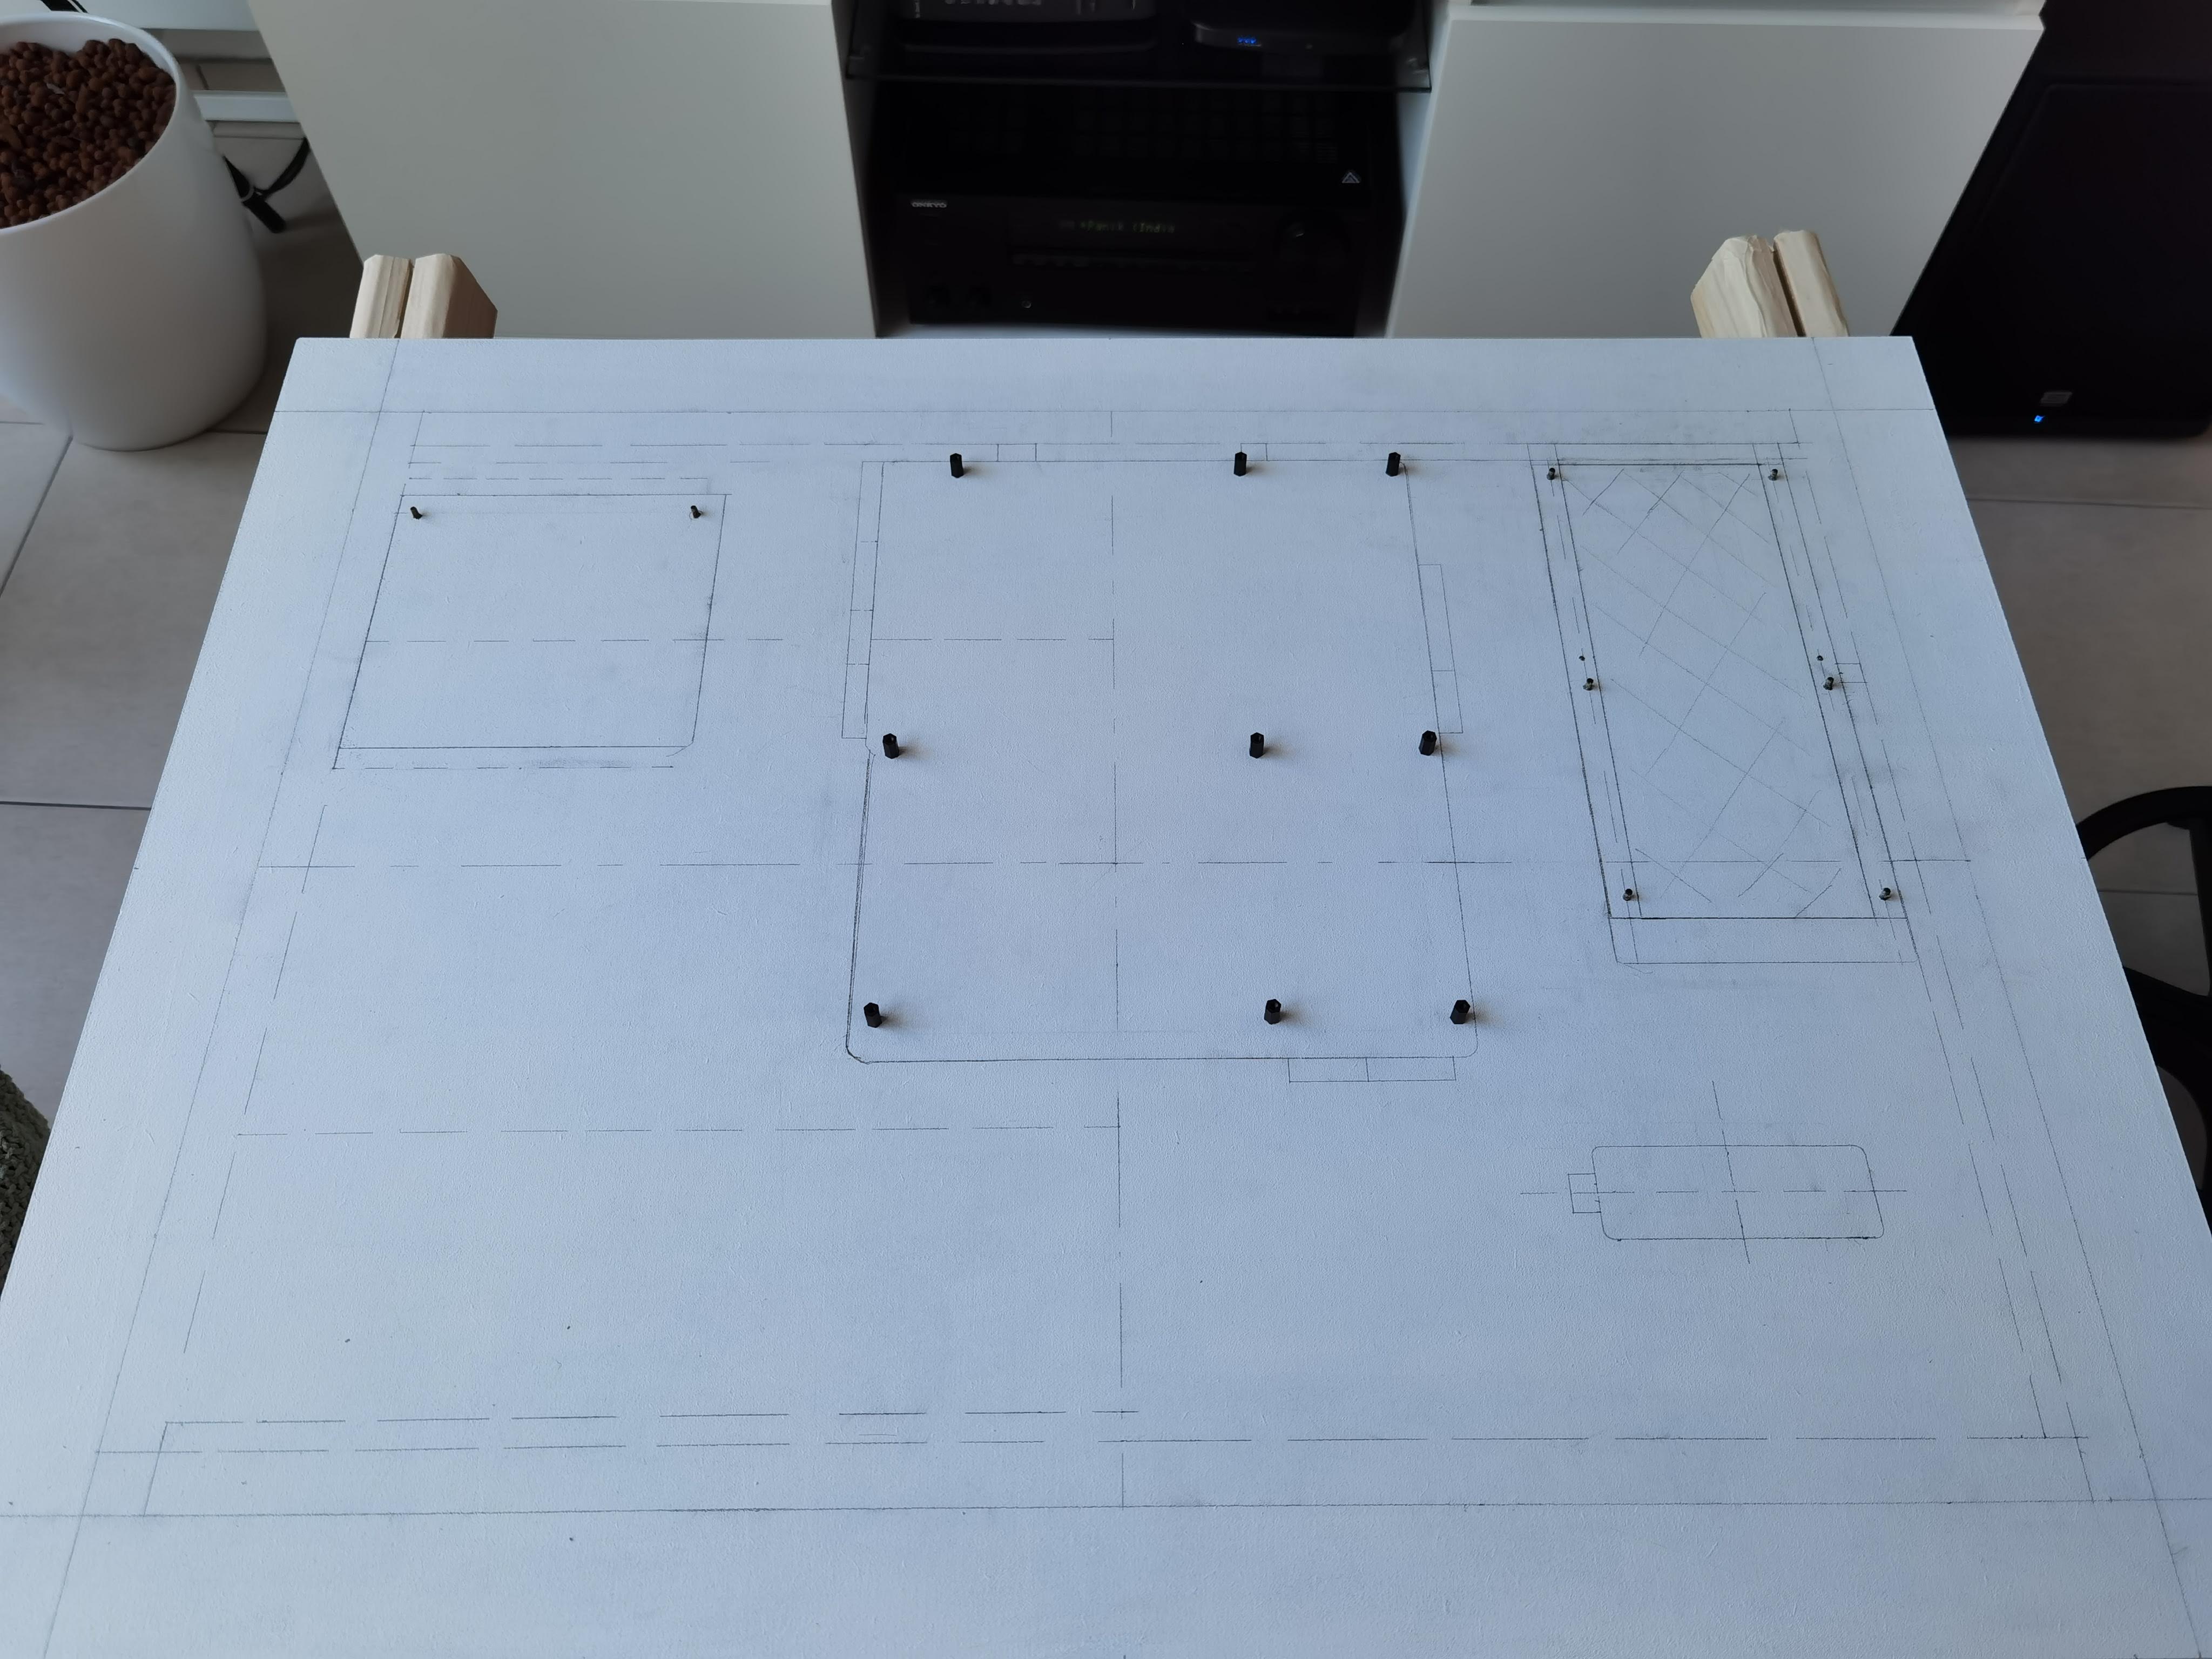
Board: MDF with threaded T-nut inserts.
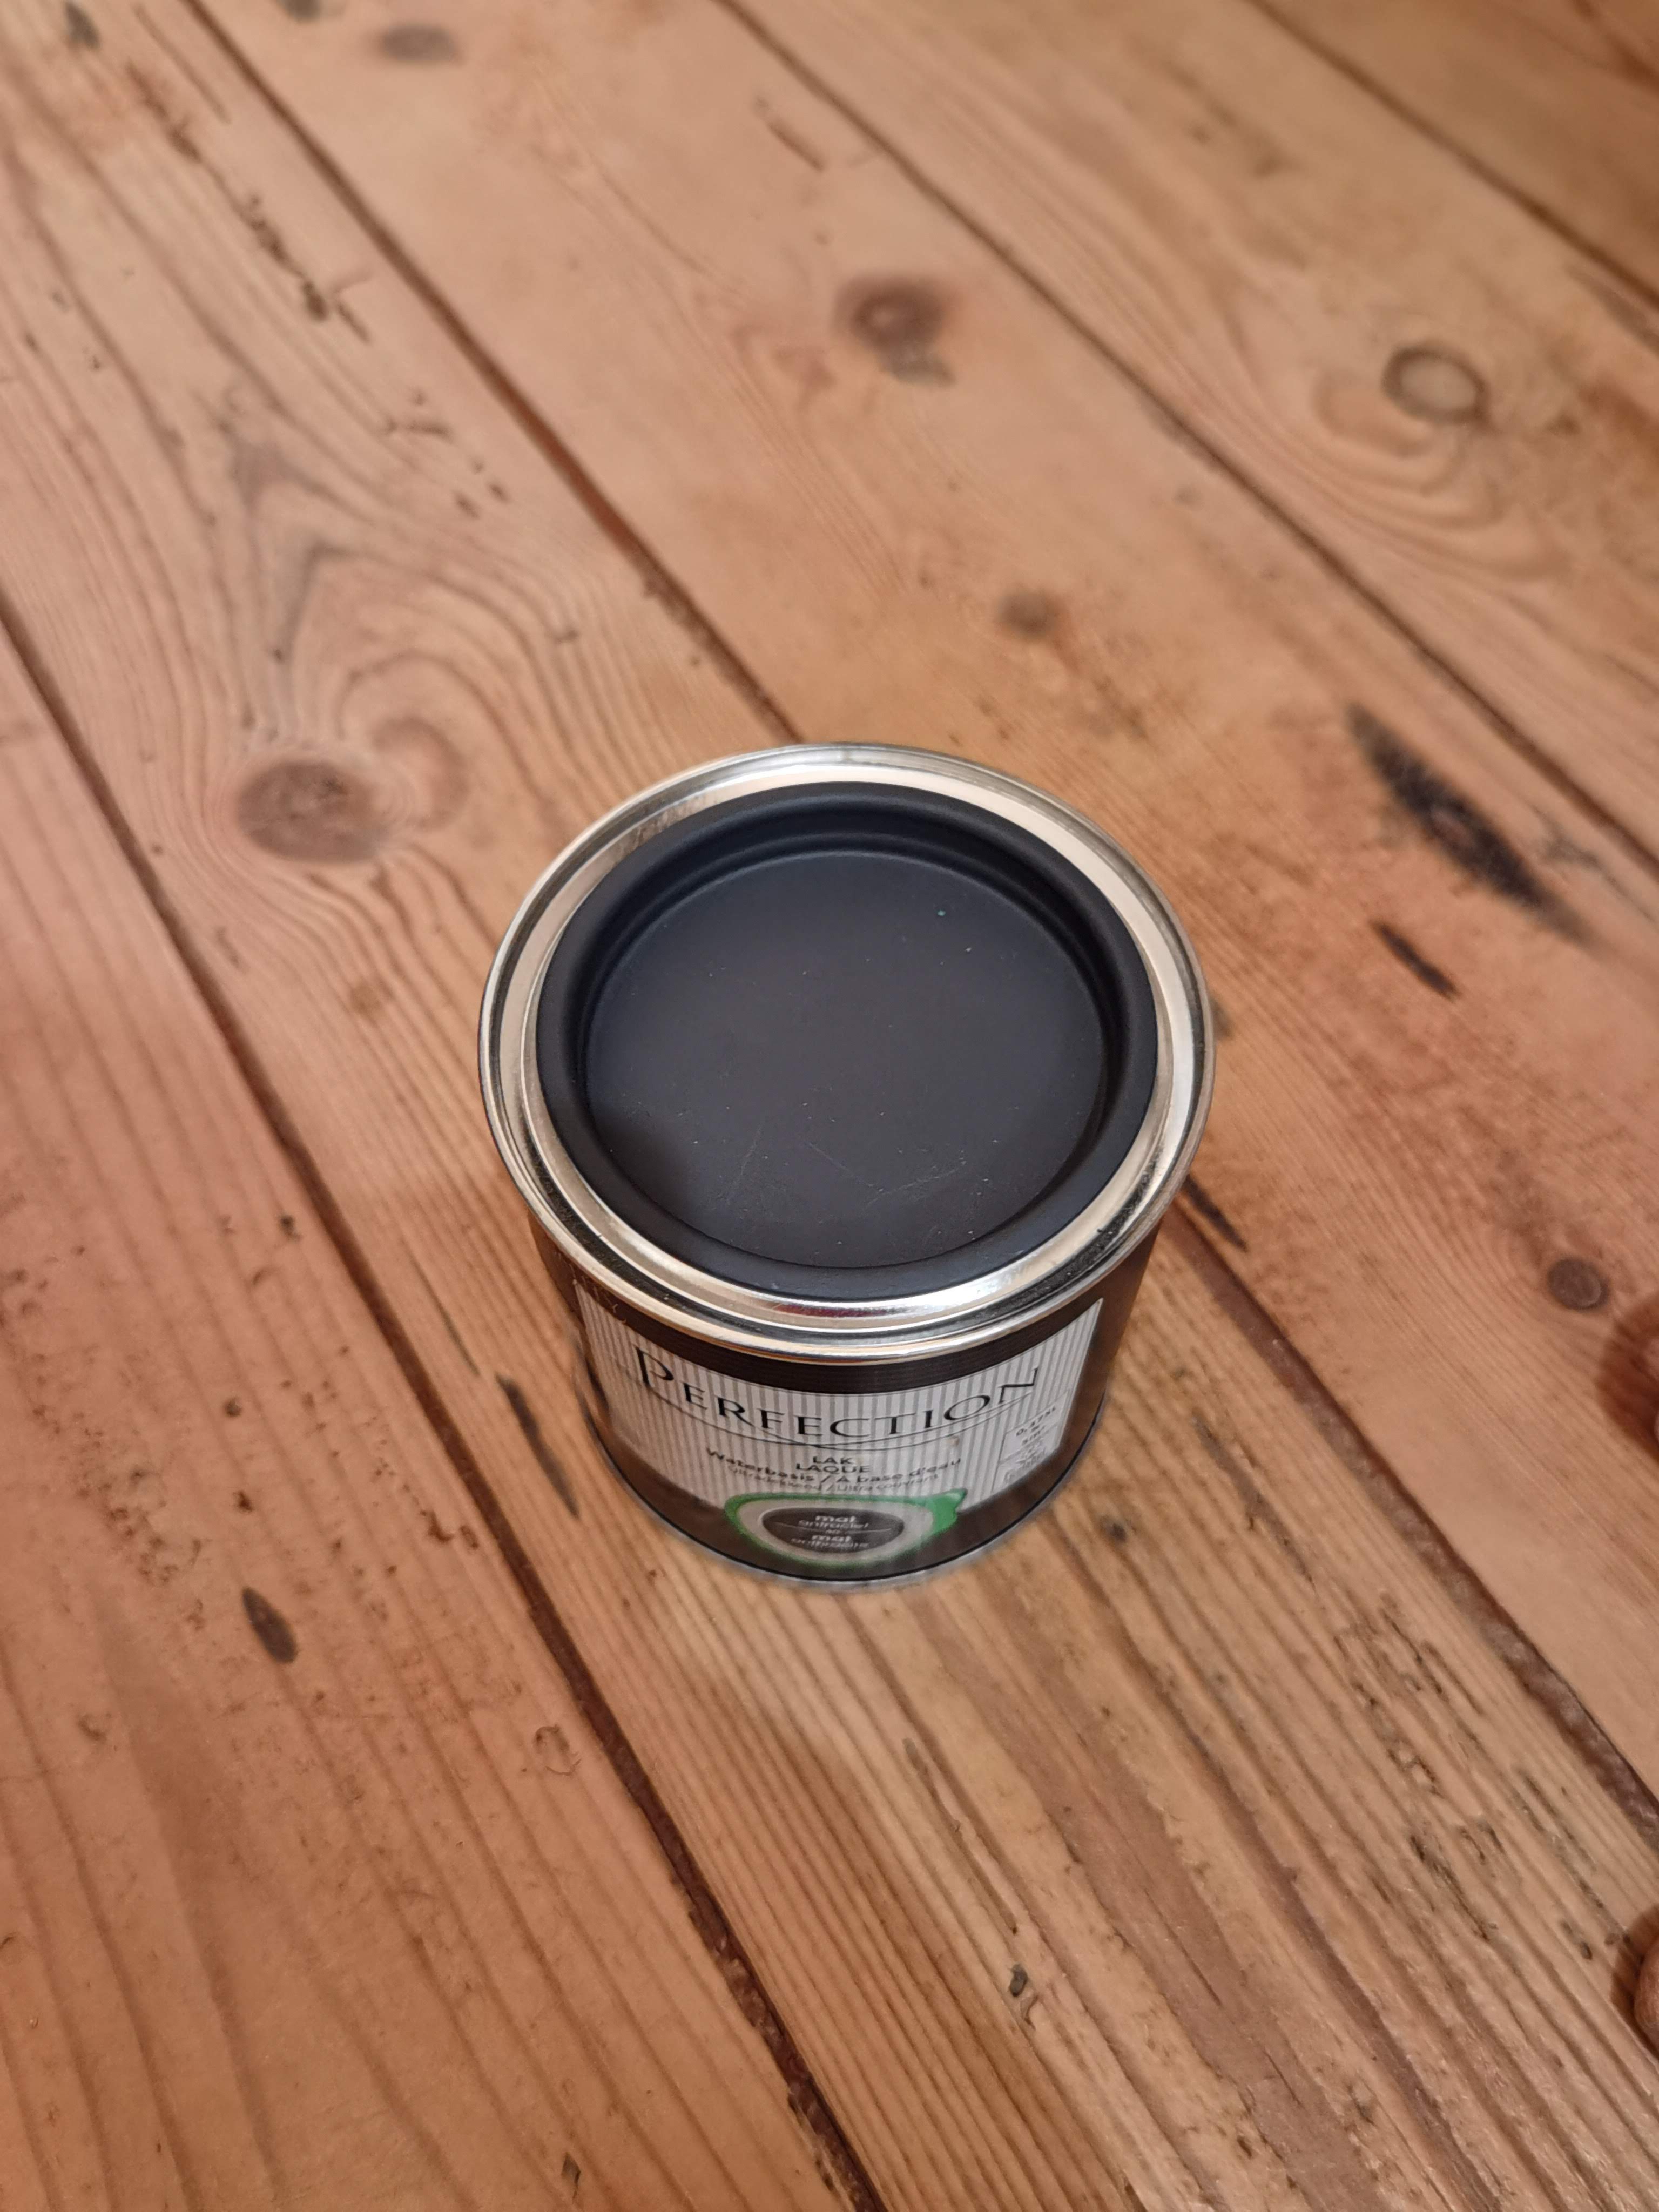
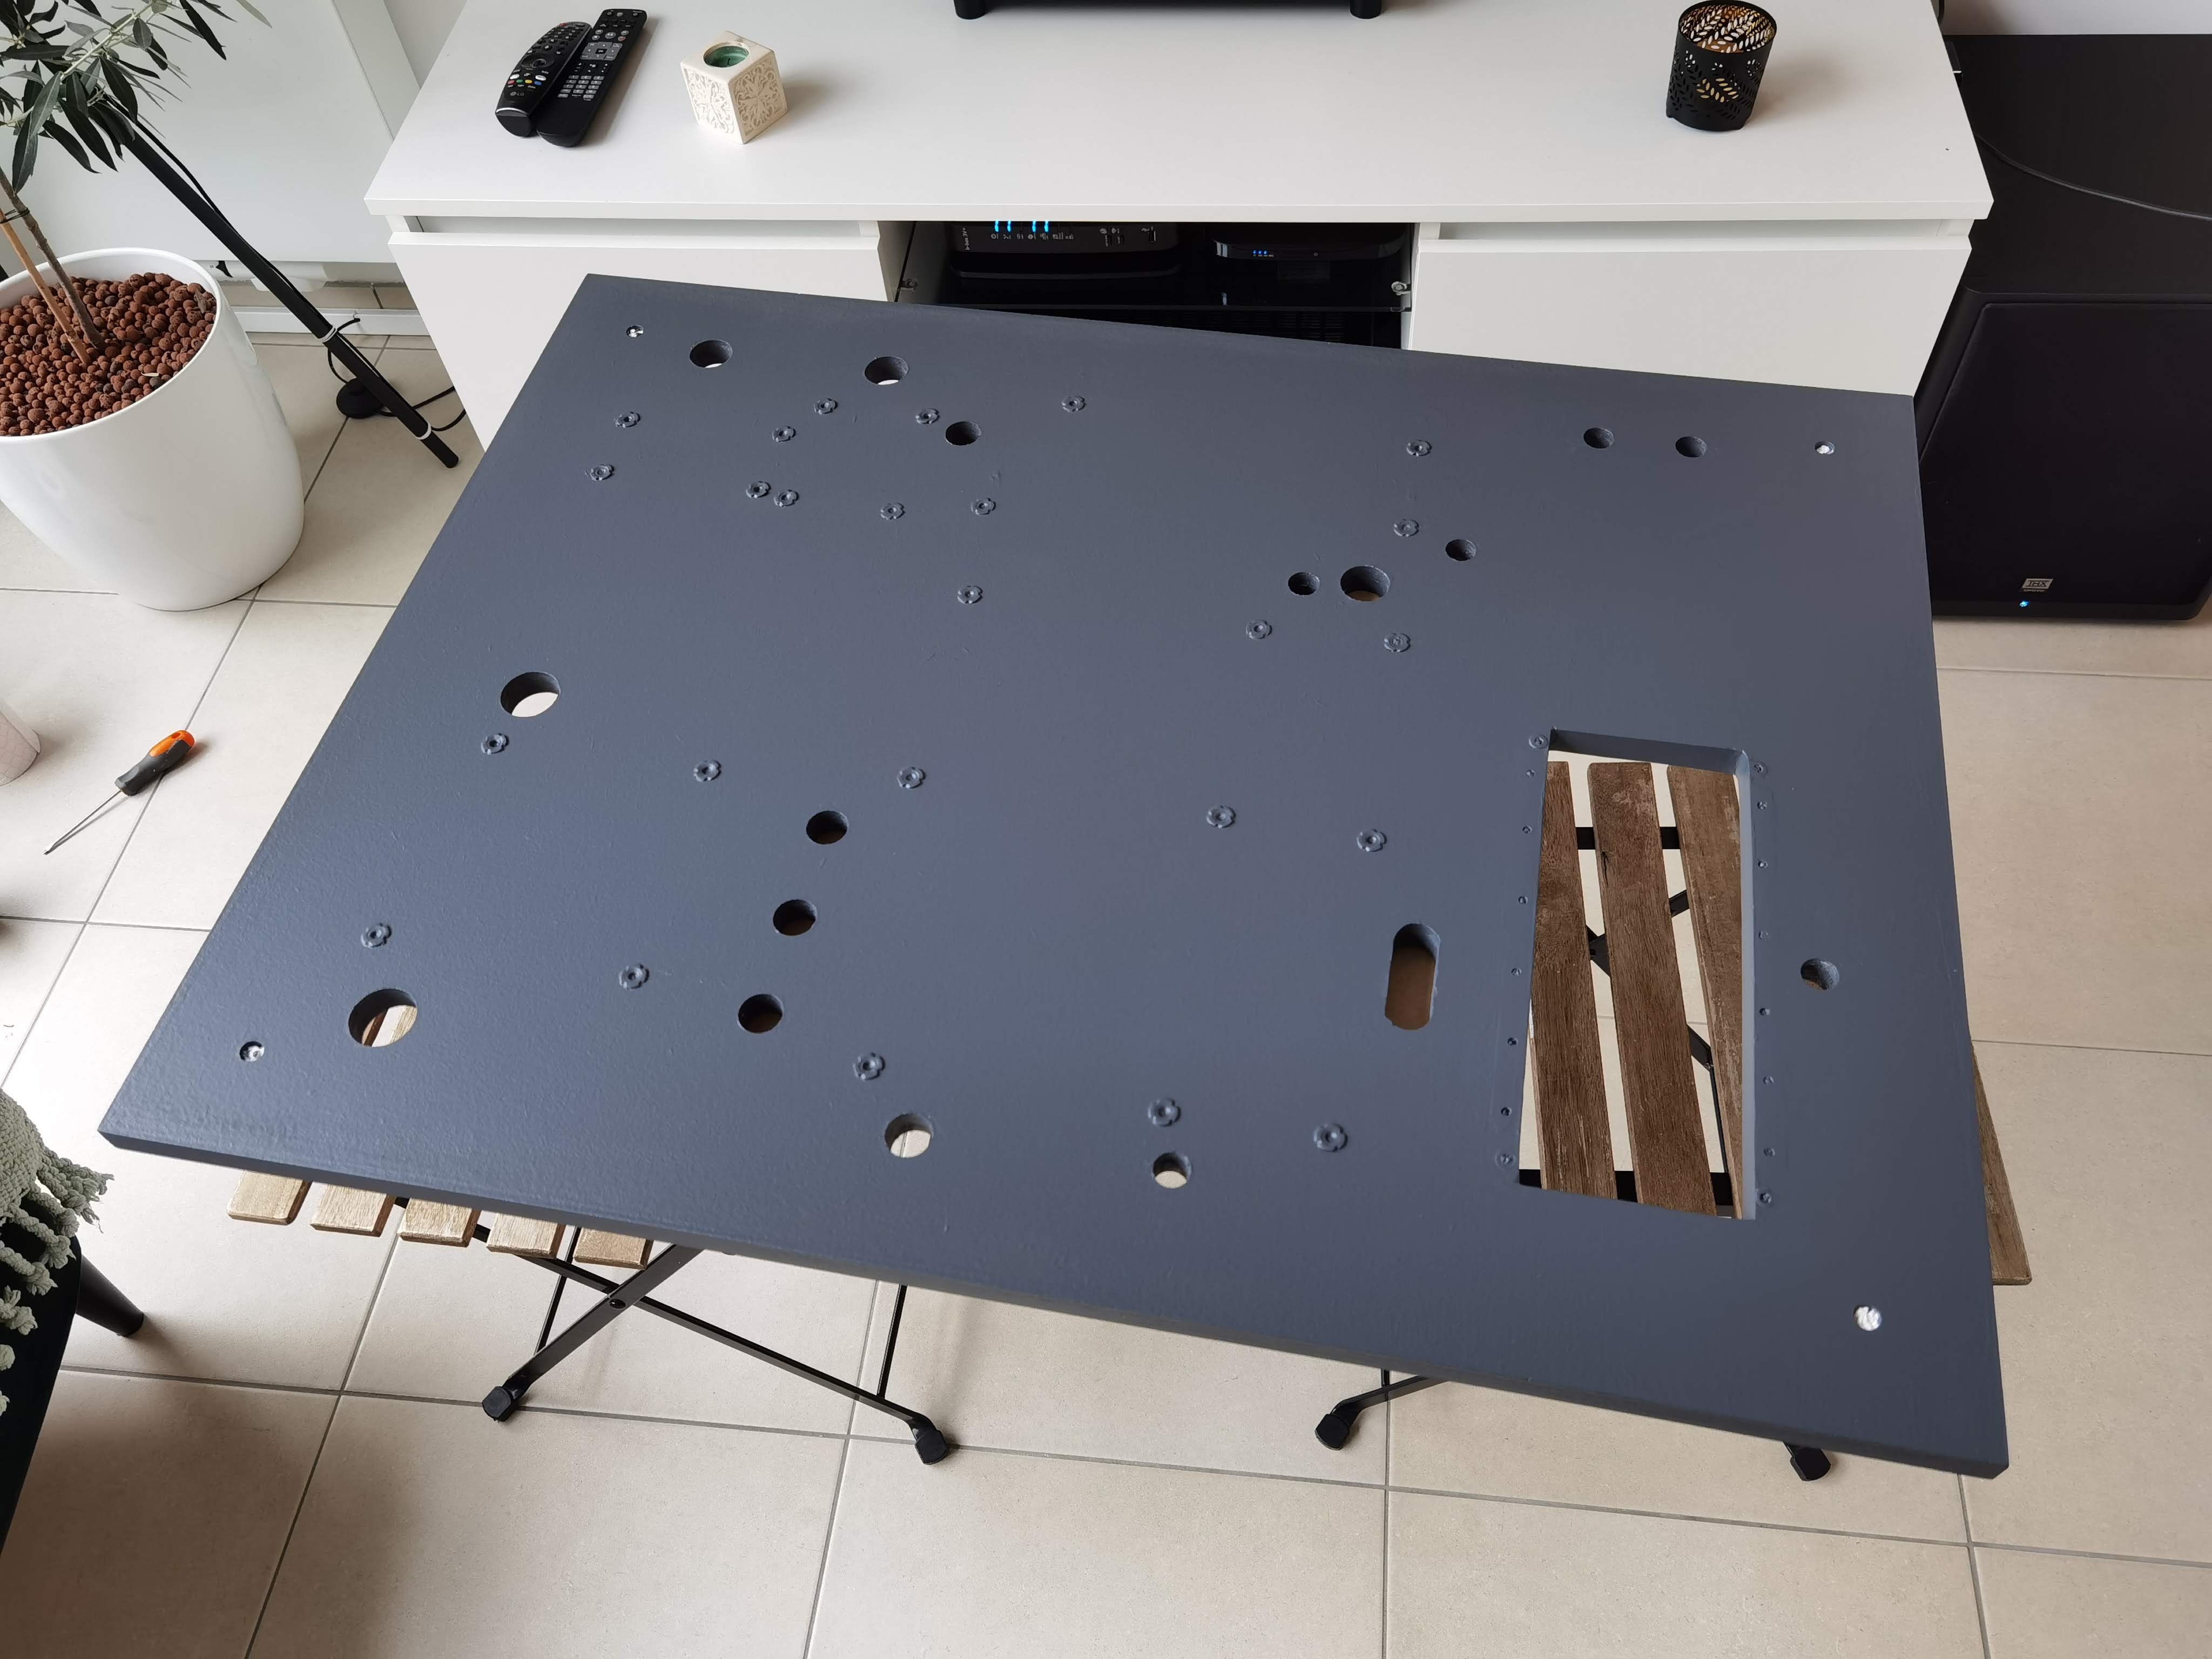
Finish: anthracite coat with texture for that “industrial chic”.
Fun fact: cable management is 80% of the project, the rest is just pretending to be an engineer.
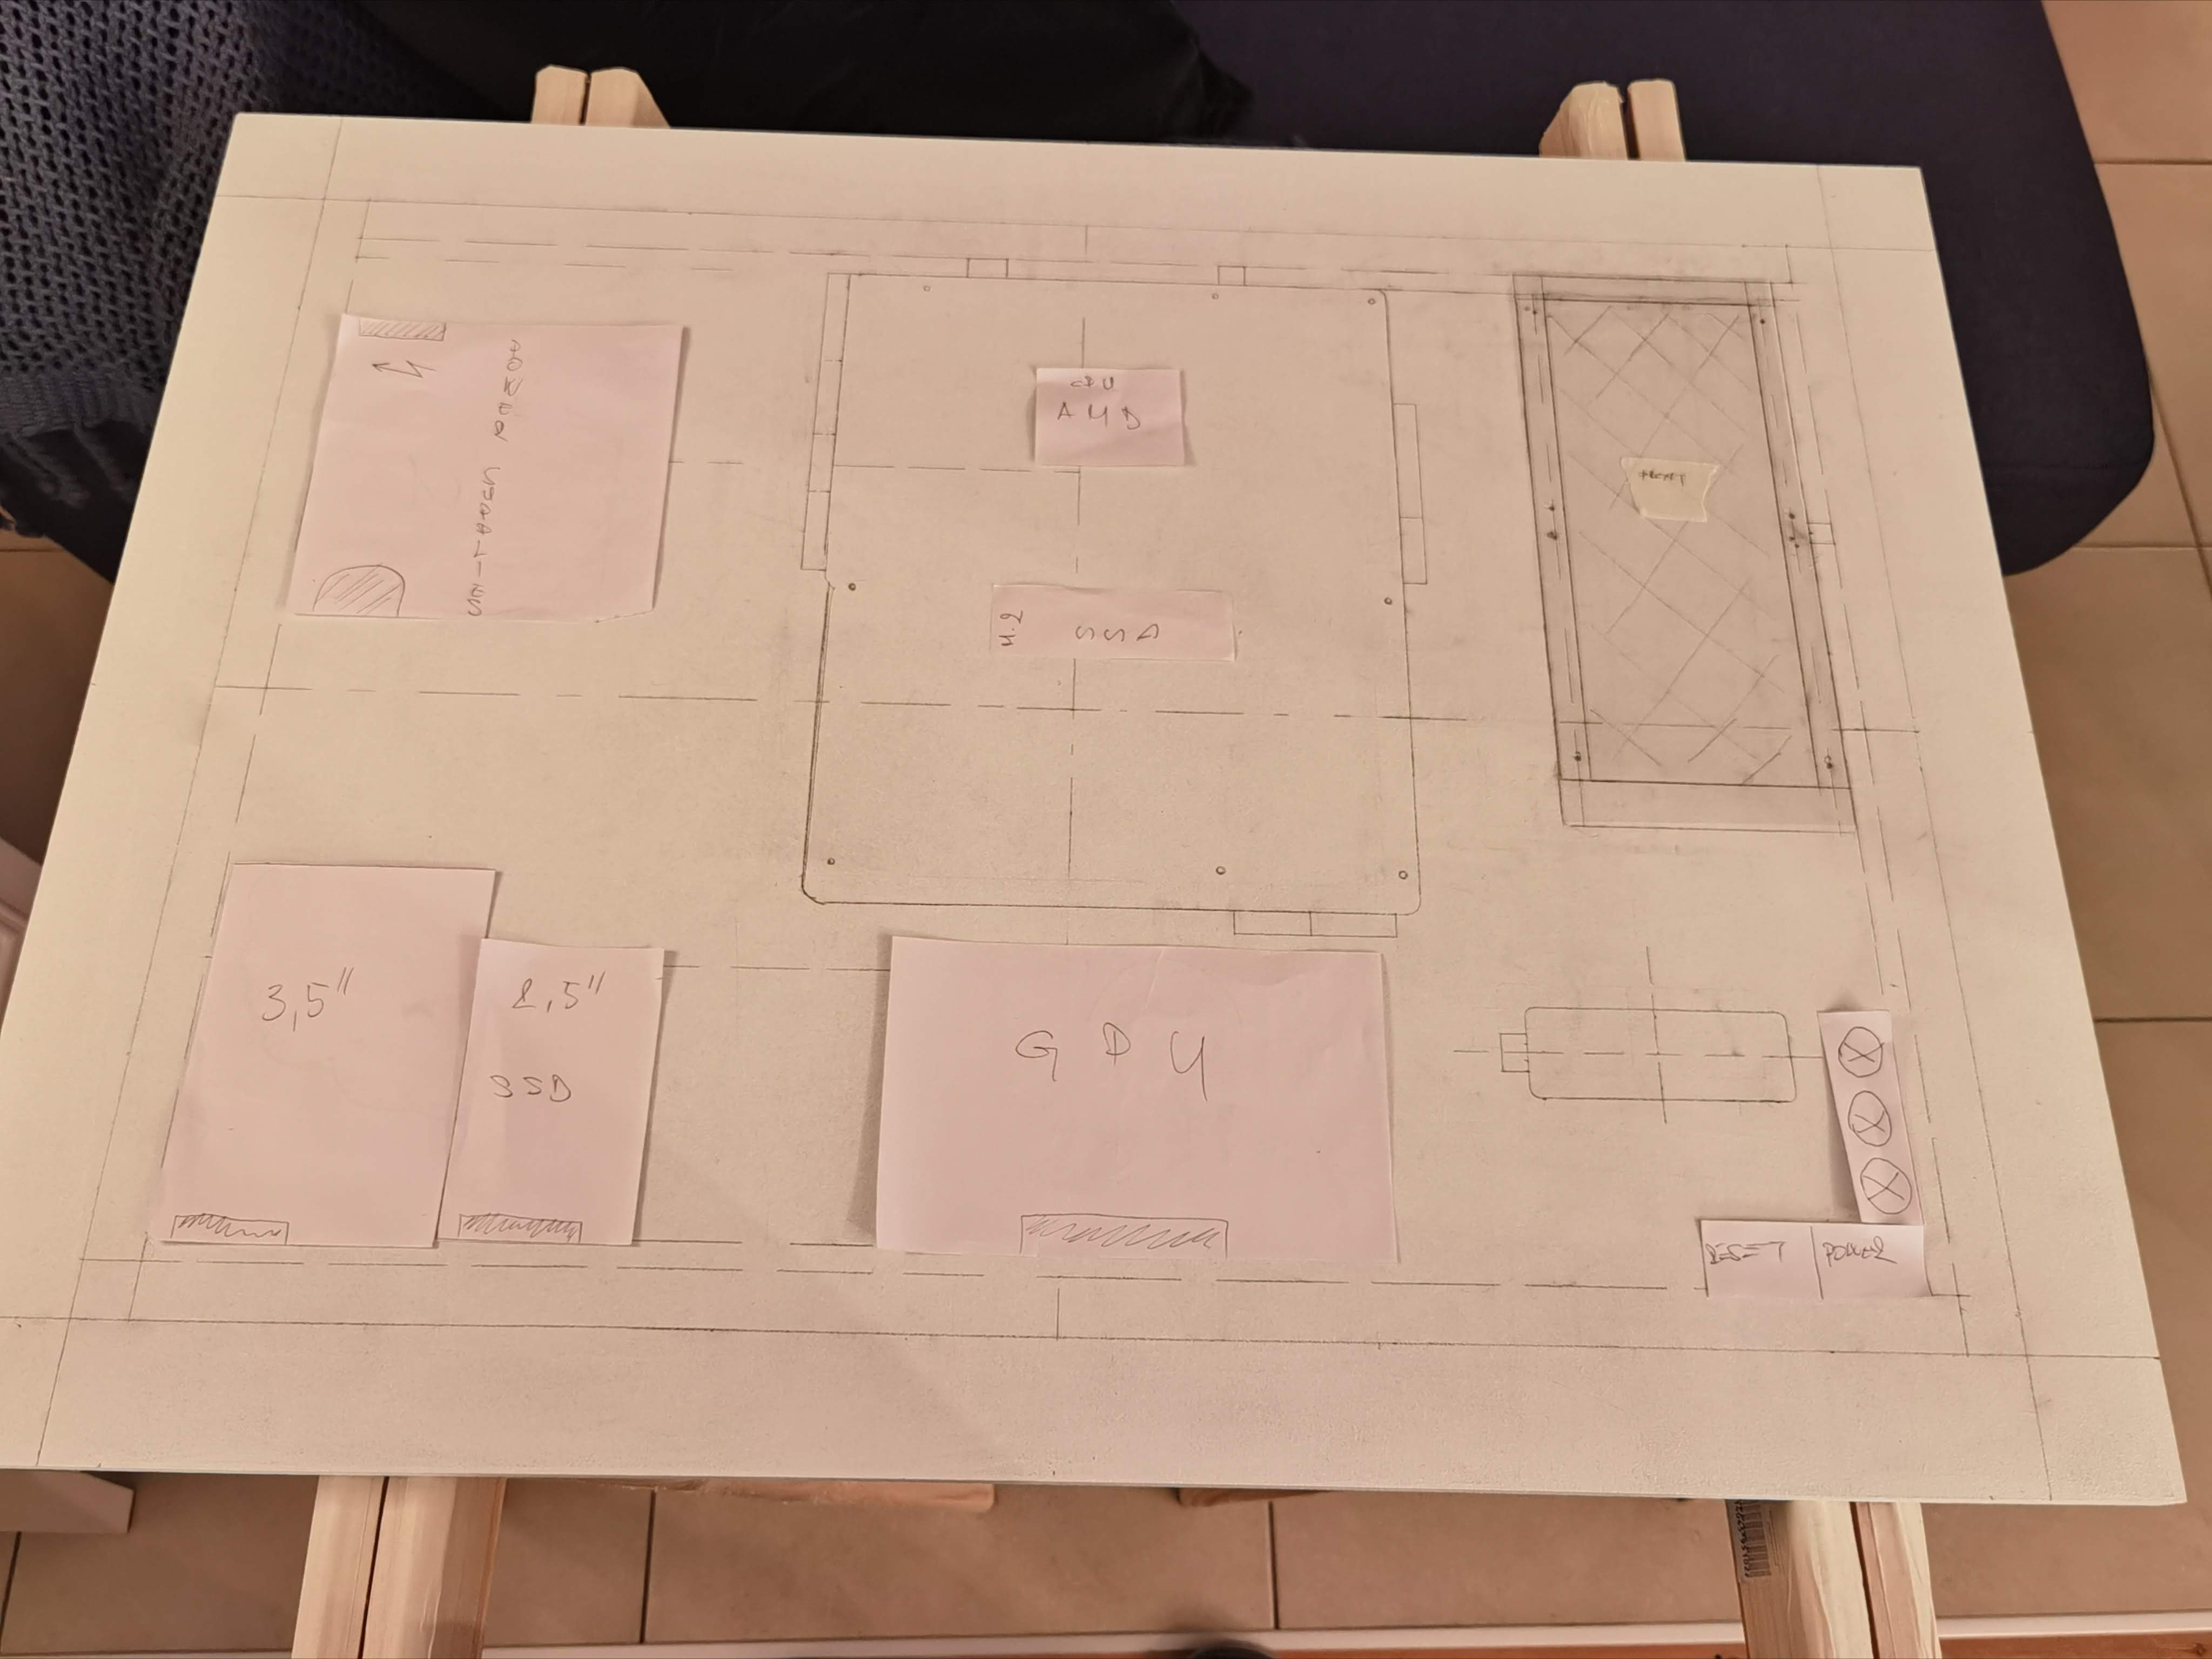
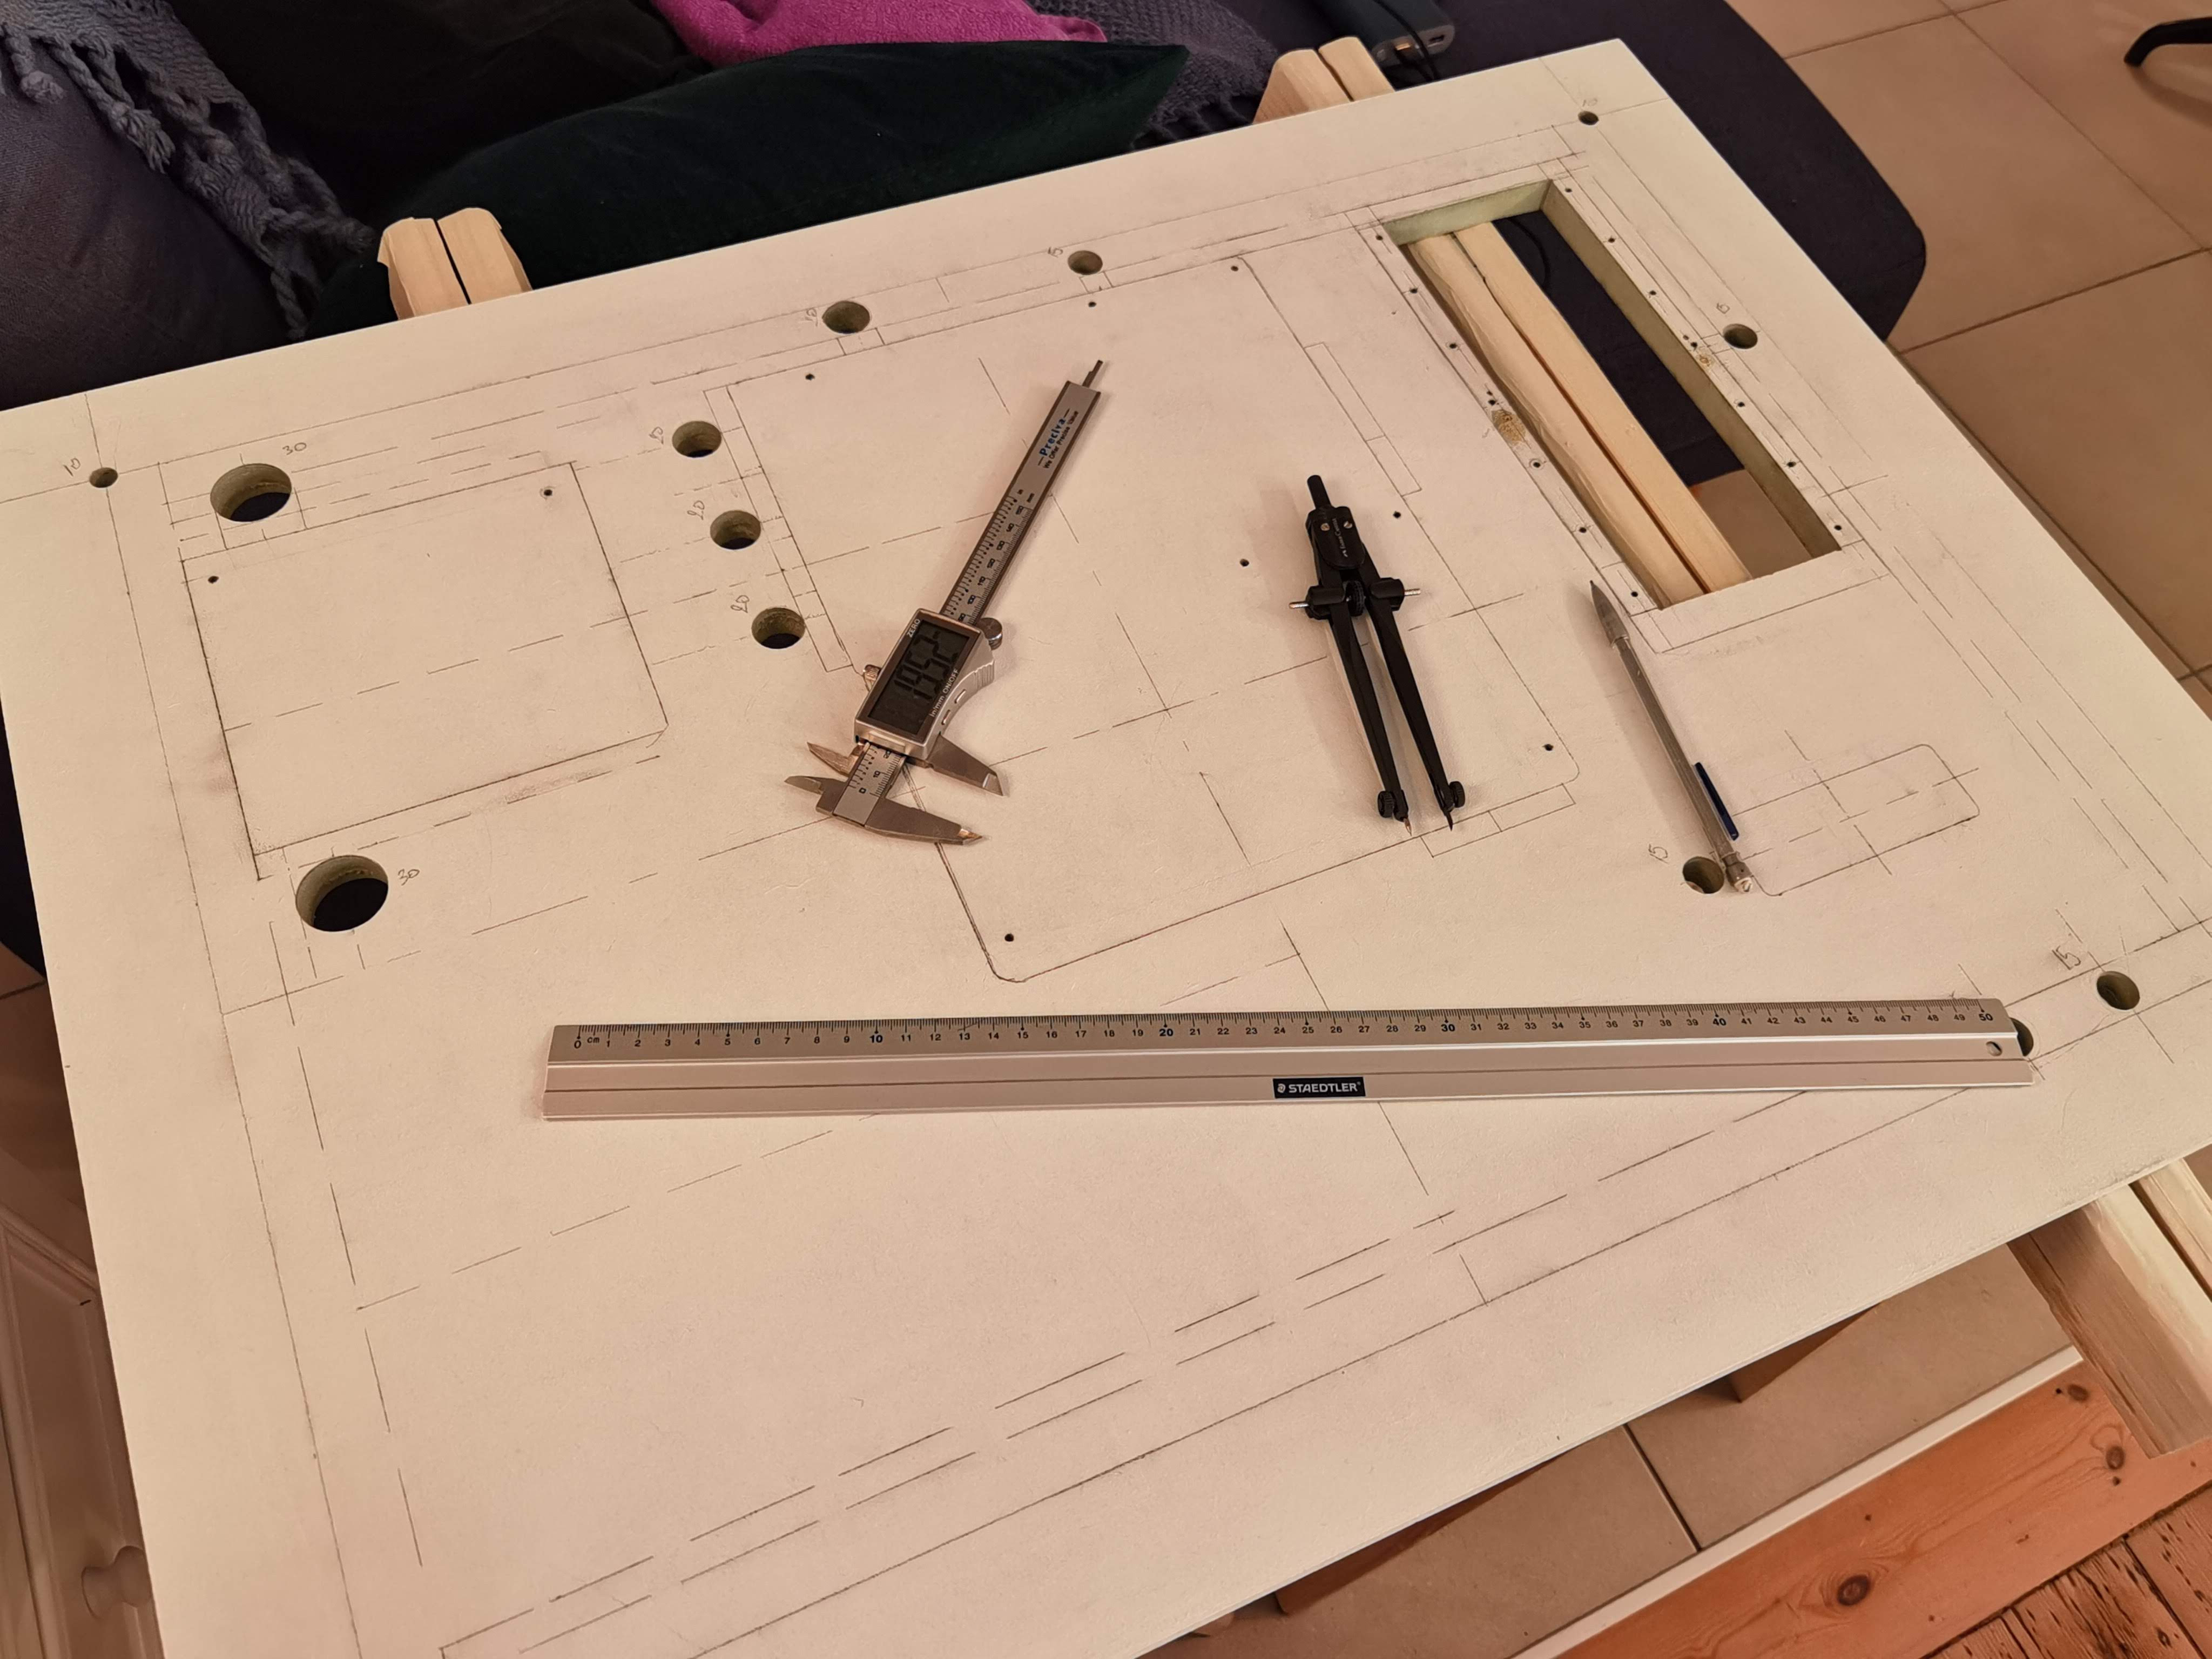
Planning
Measuring, sketching, and realizing how much wall space was being wasted thanks to high ceilings.
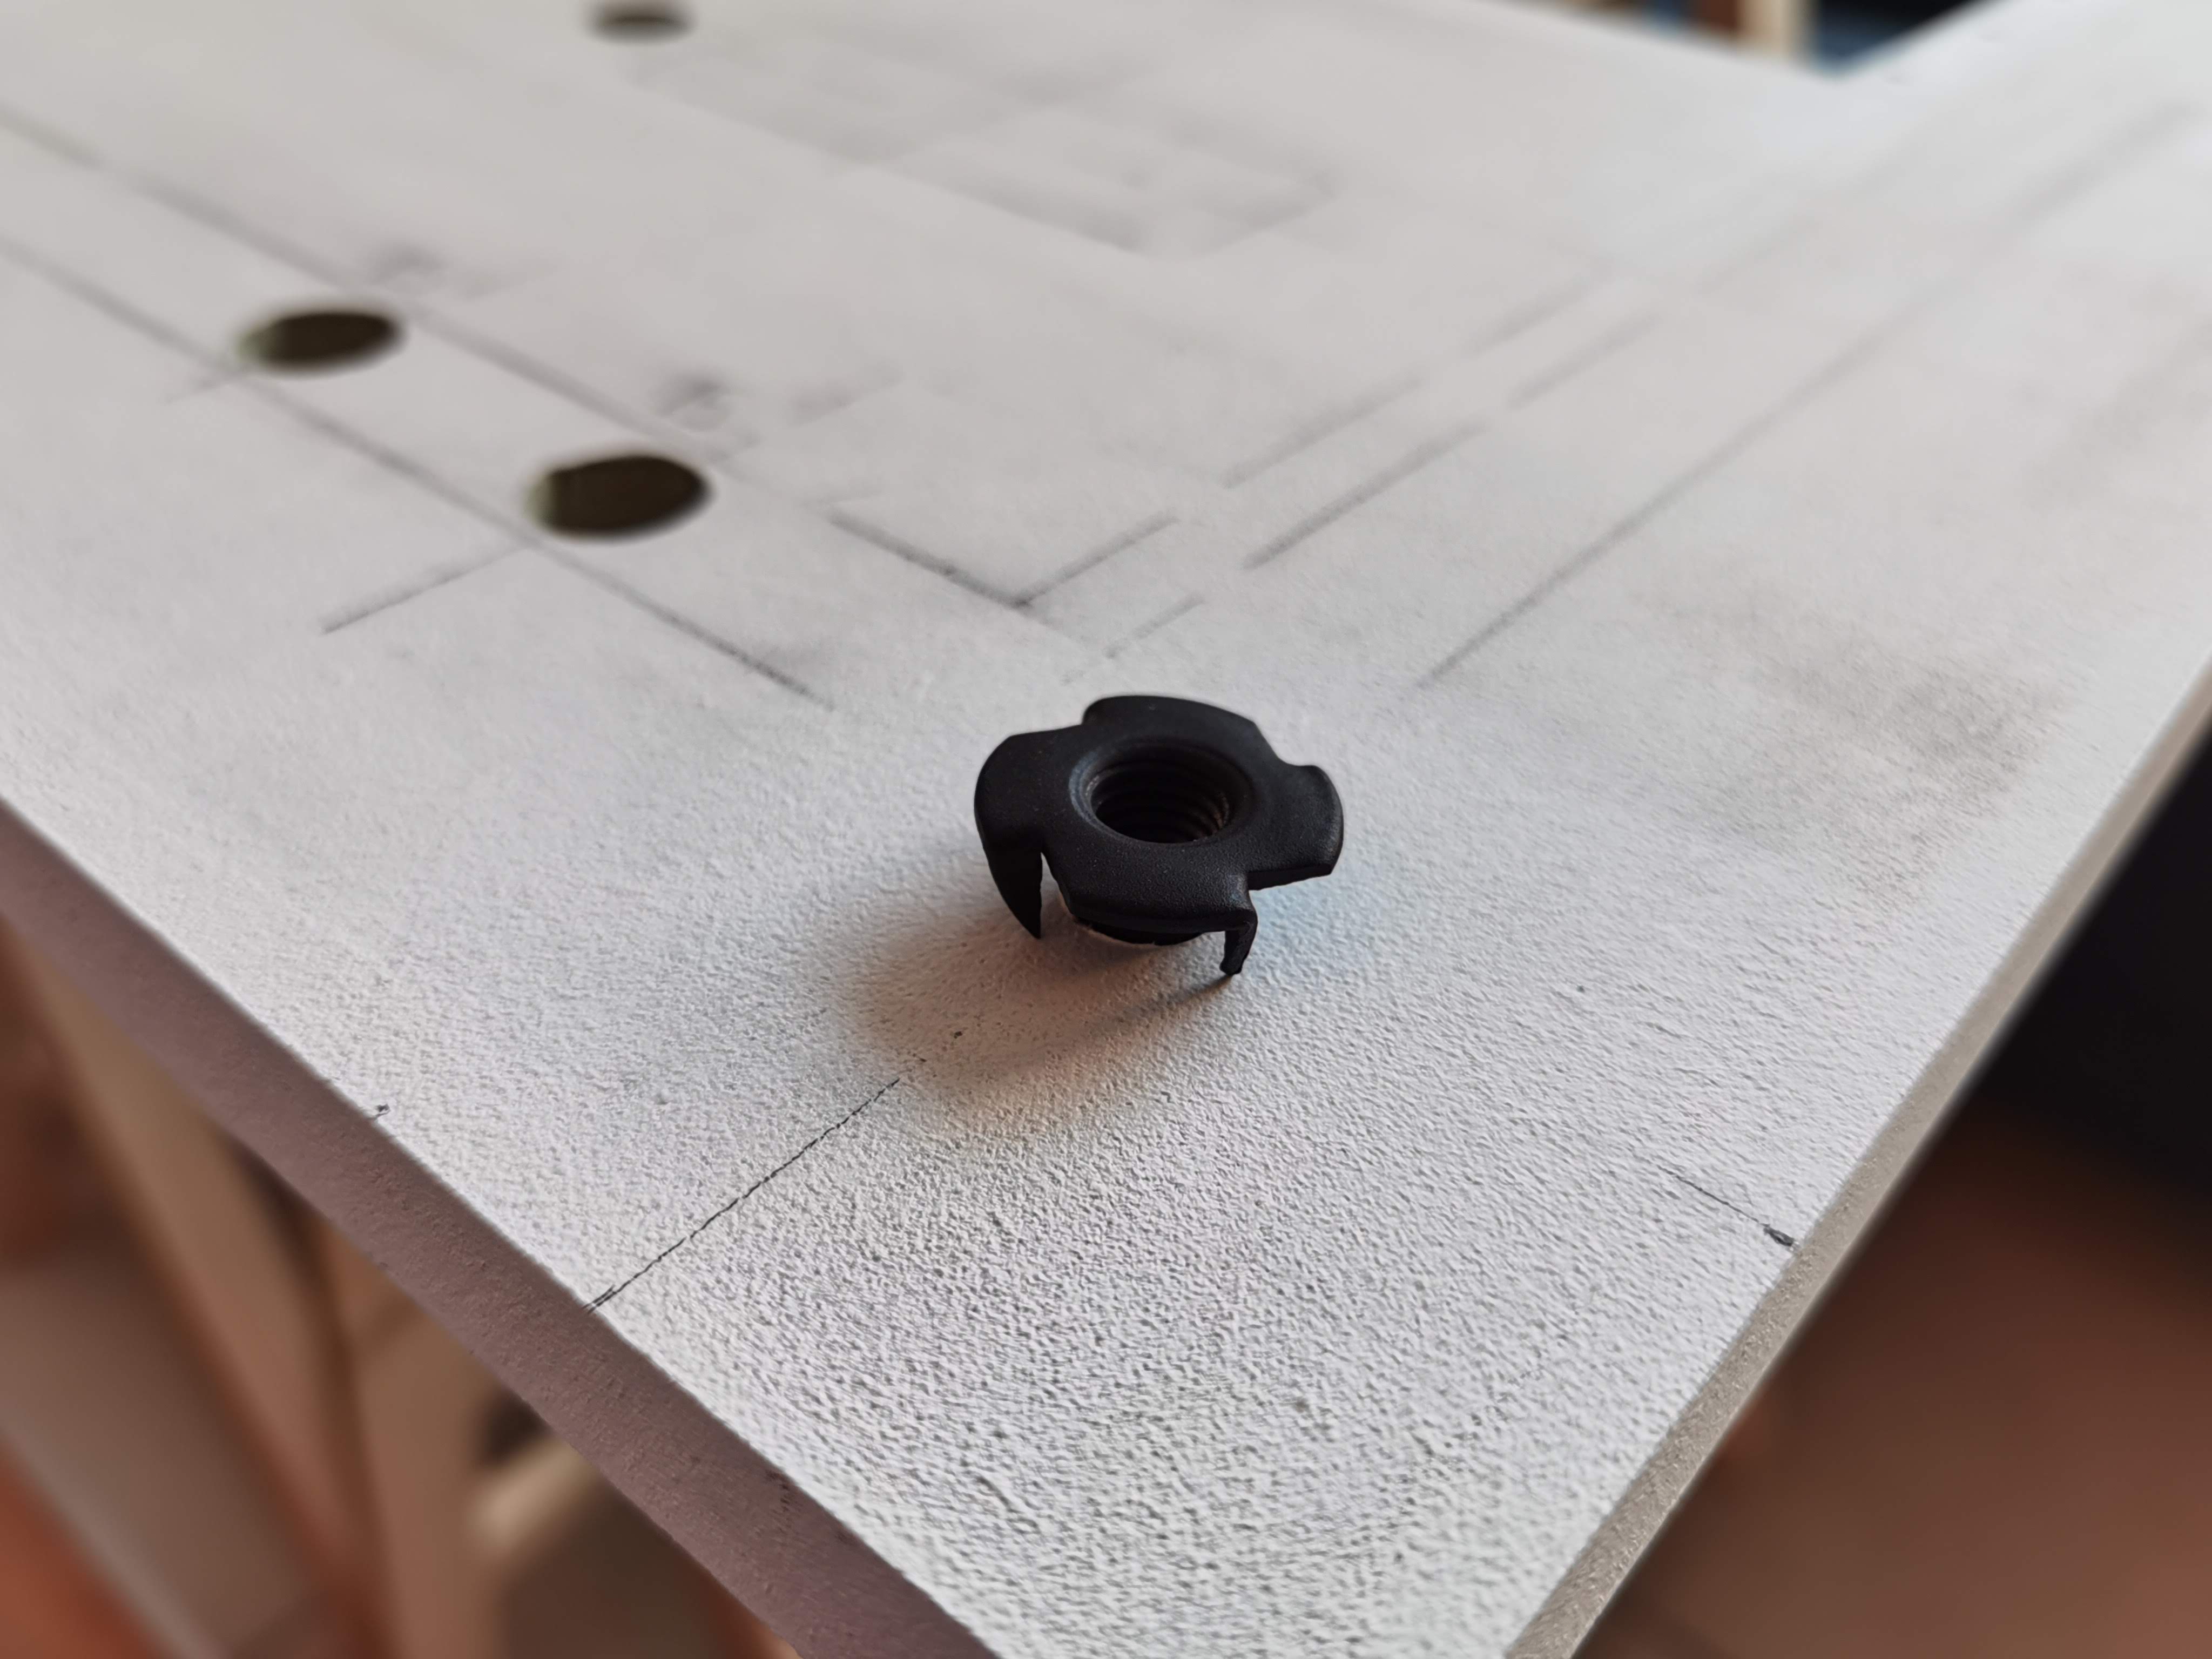
Drilling & Inserts
Drilling holes and installing T-nuts so the board doesn’t become modern art after the first screw.
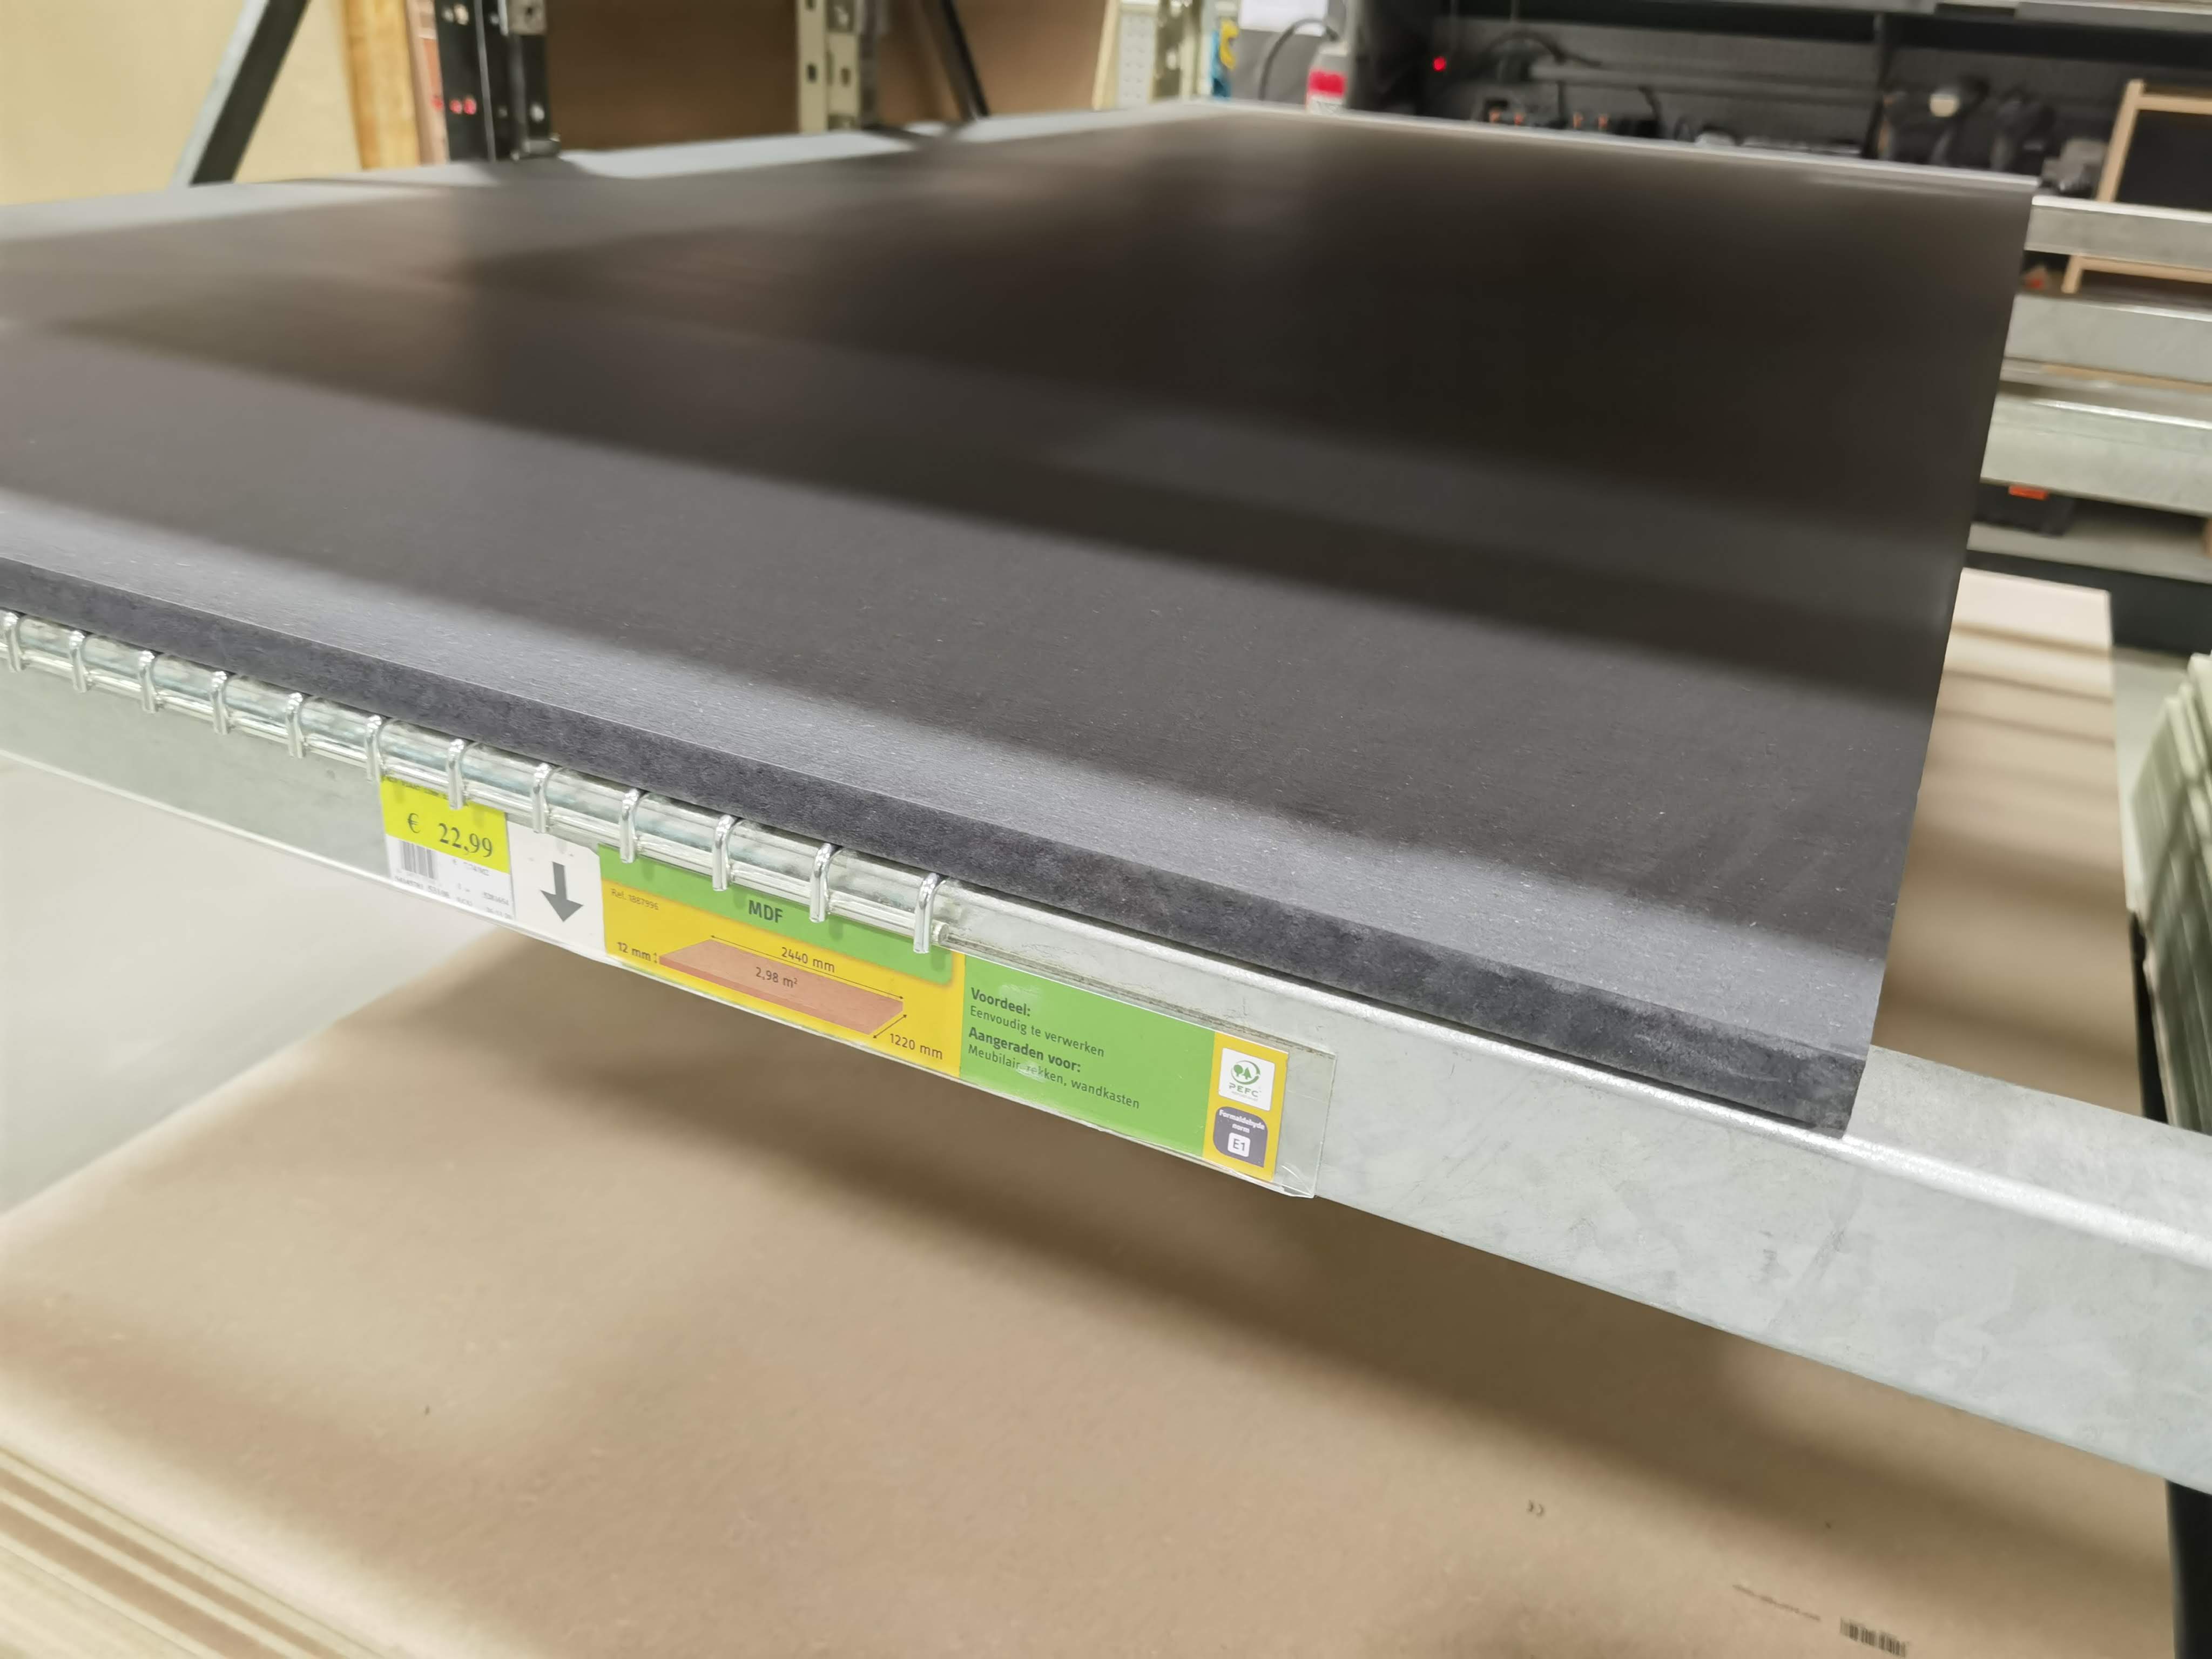
Materials & Board
MDF board and the mandatory “which shade of grey is cooler” debate.
Painting
First coat, final coat — pretending it’s not just a fancy excuse to play with spray paint.
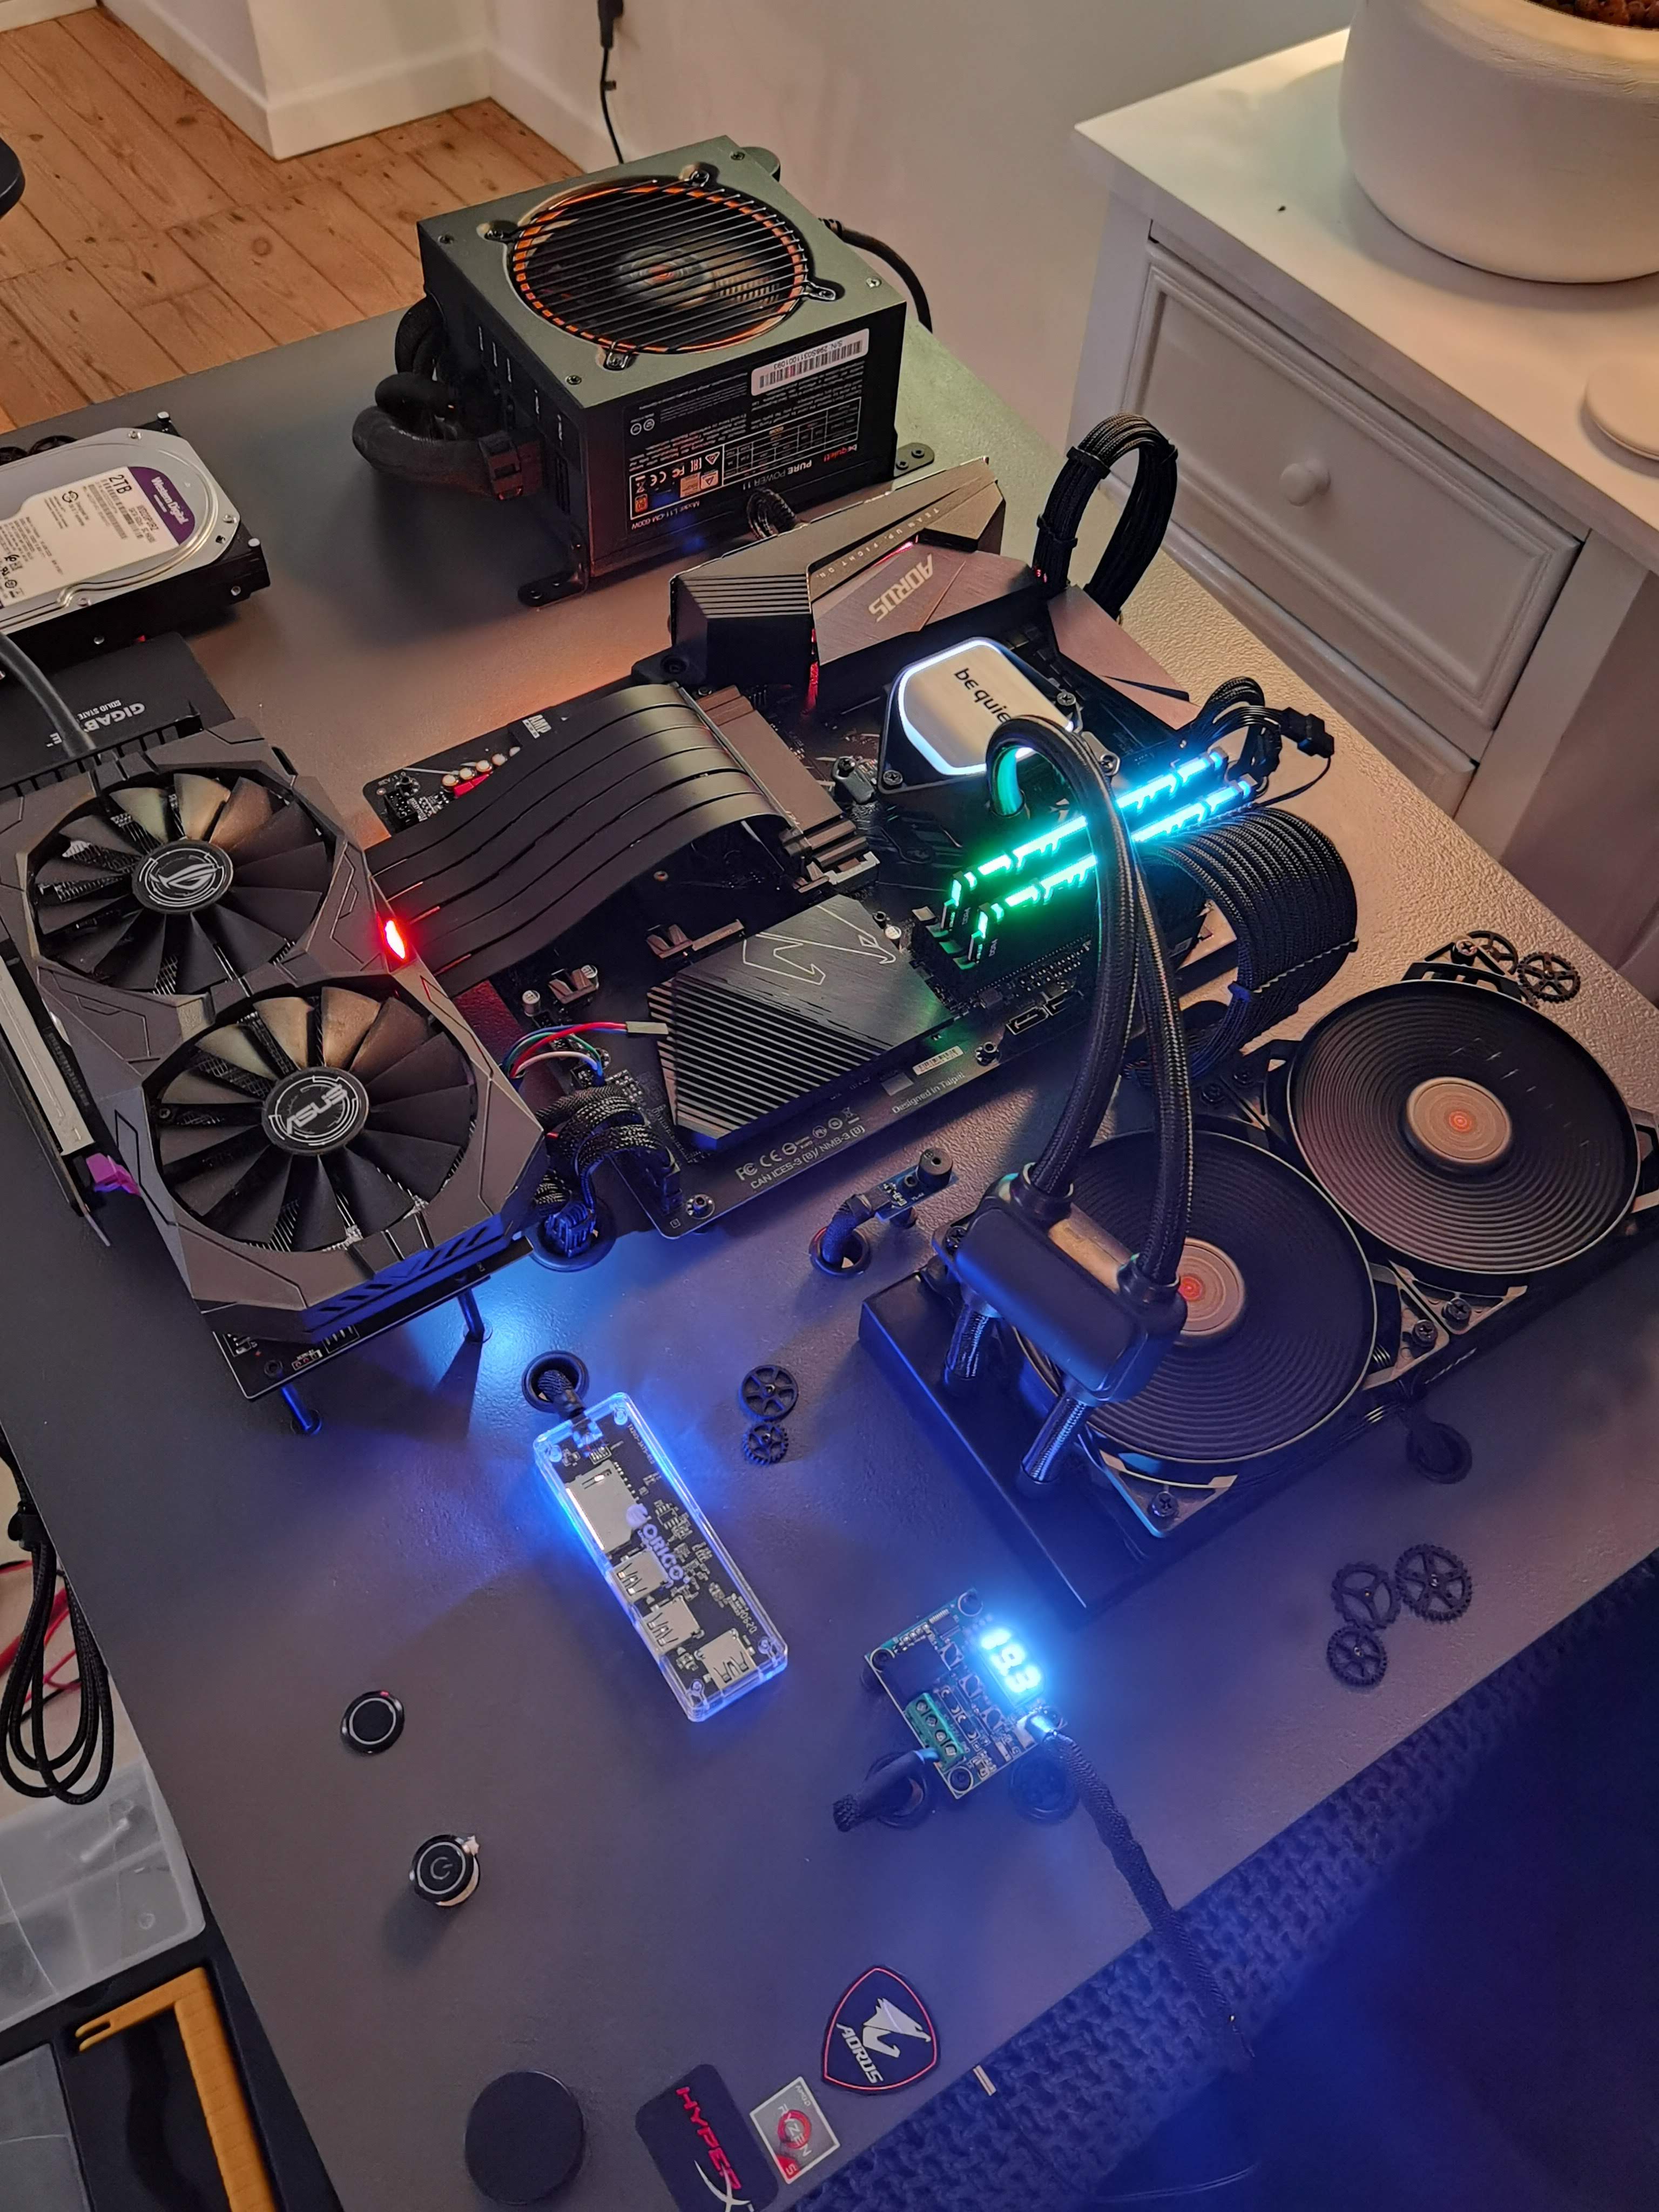
Component Mounting
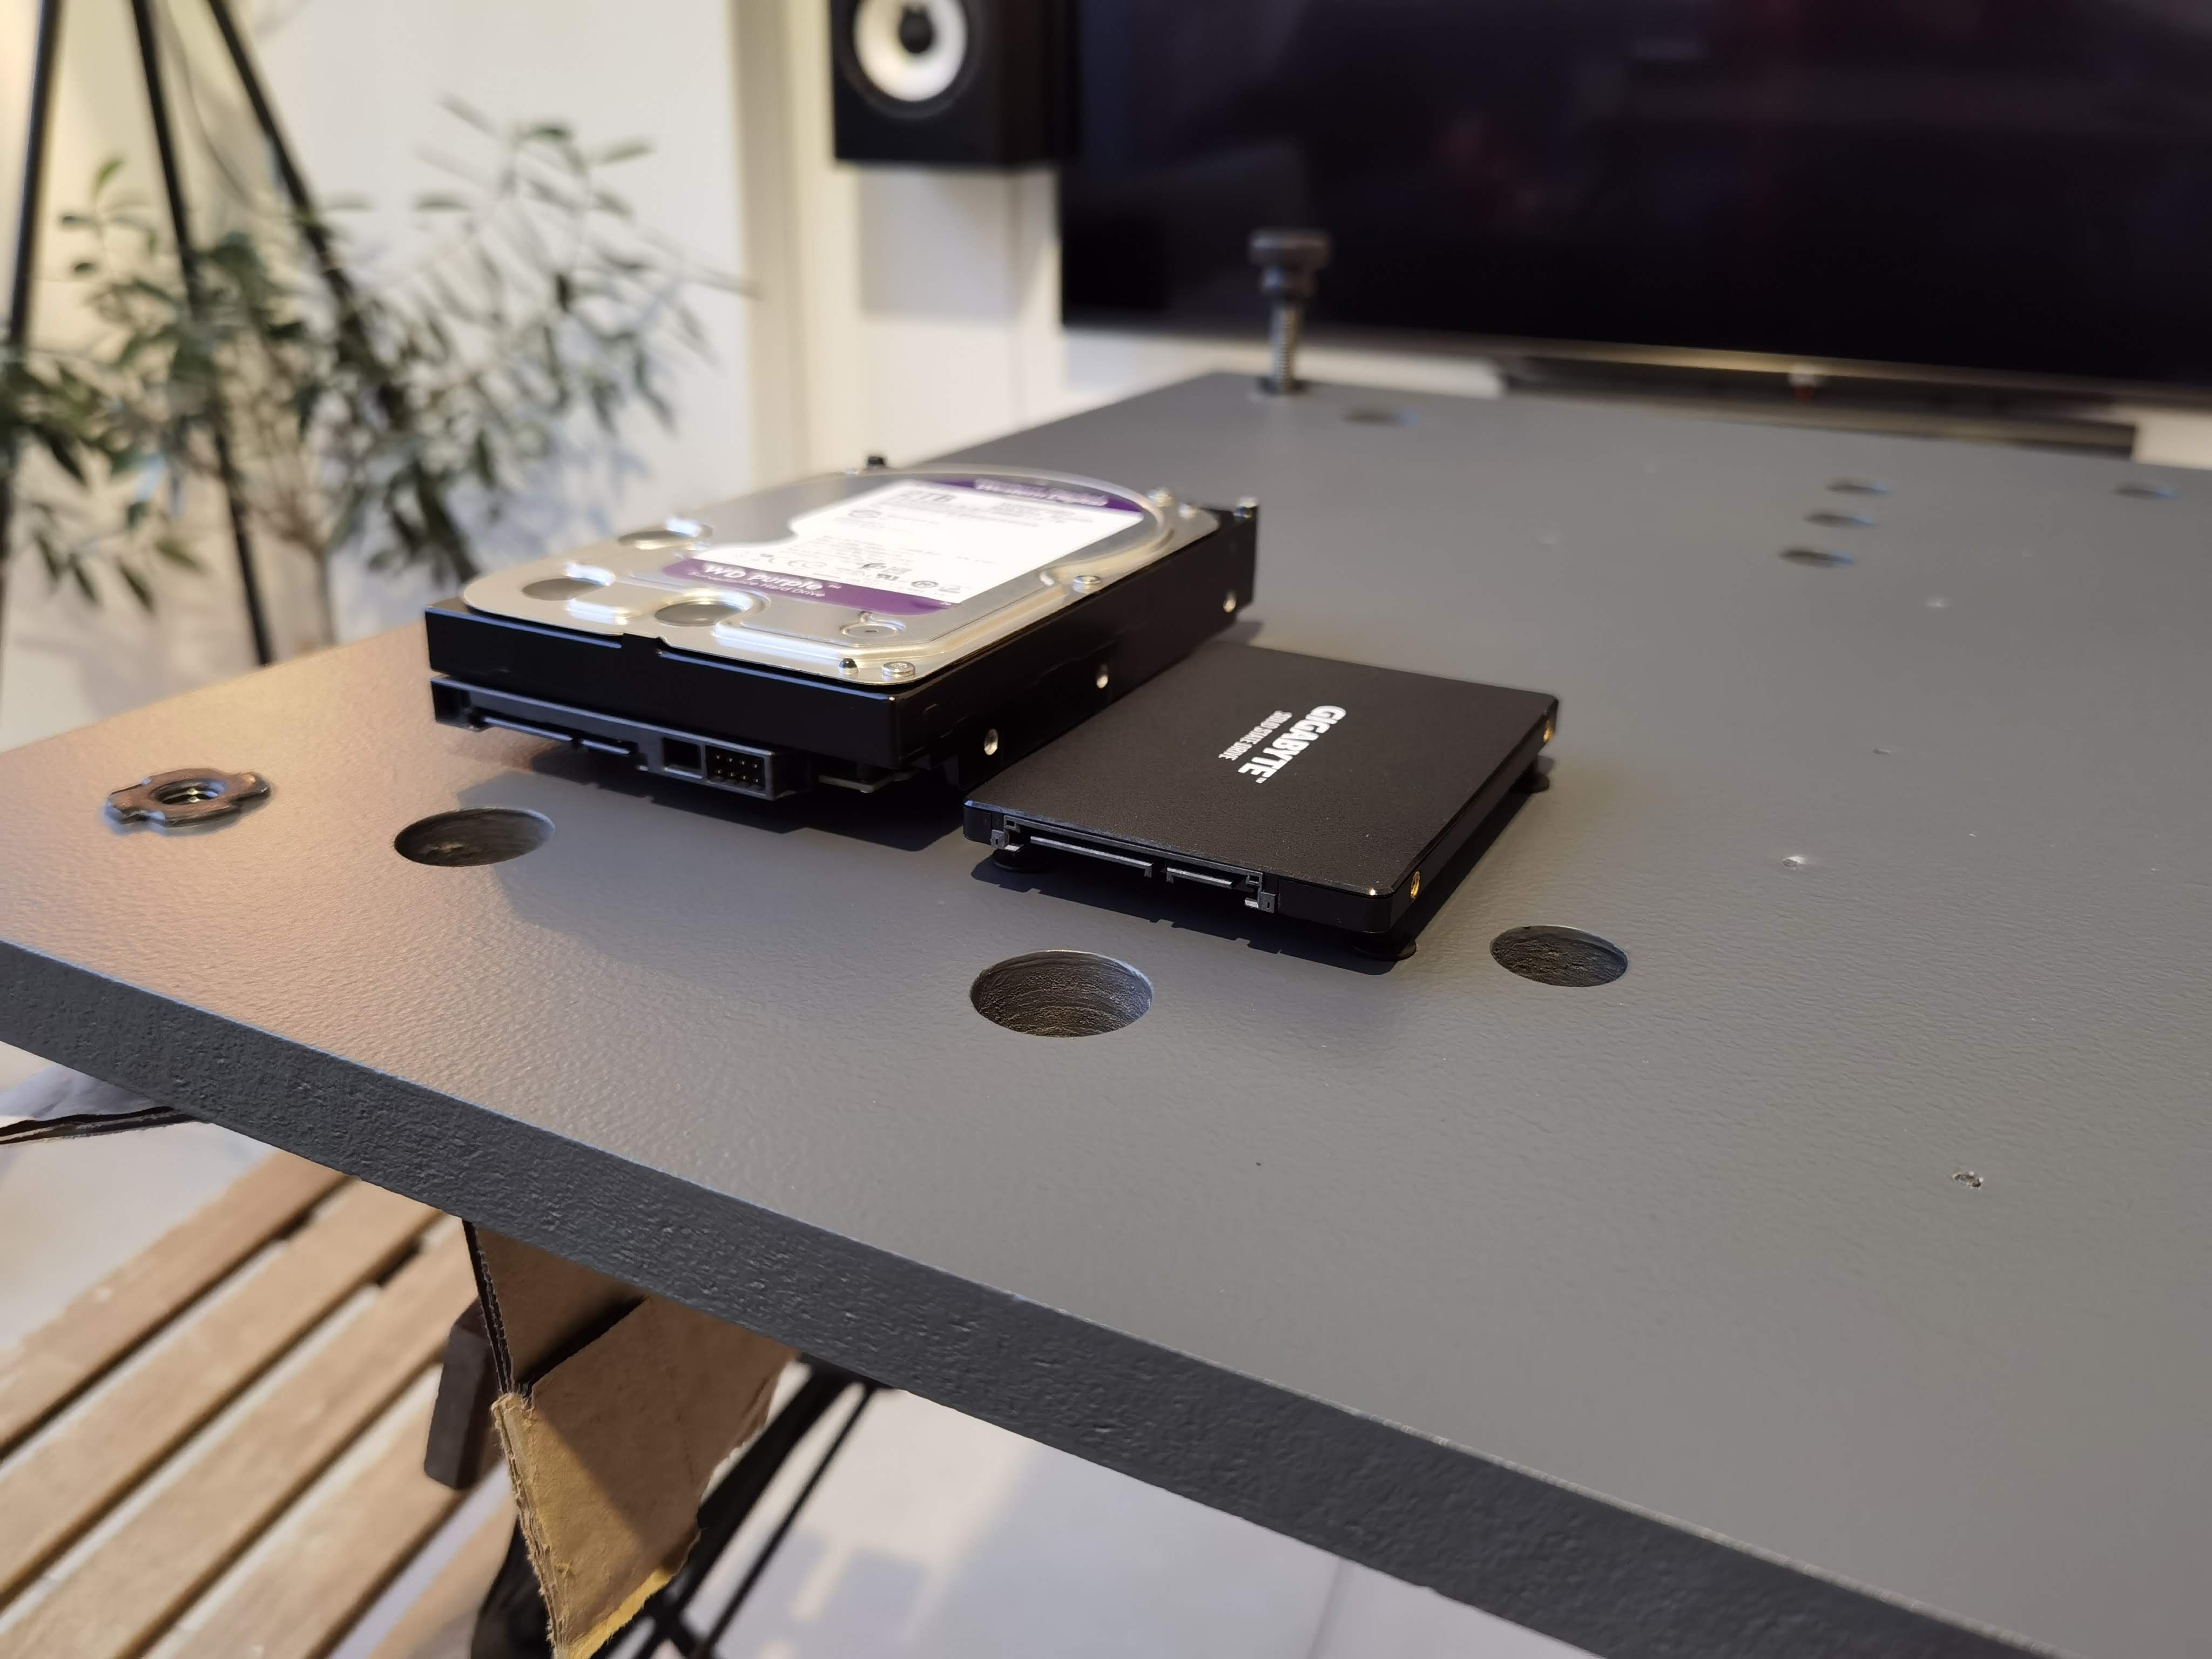
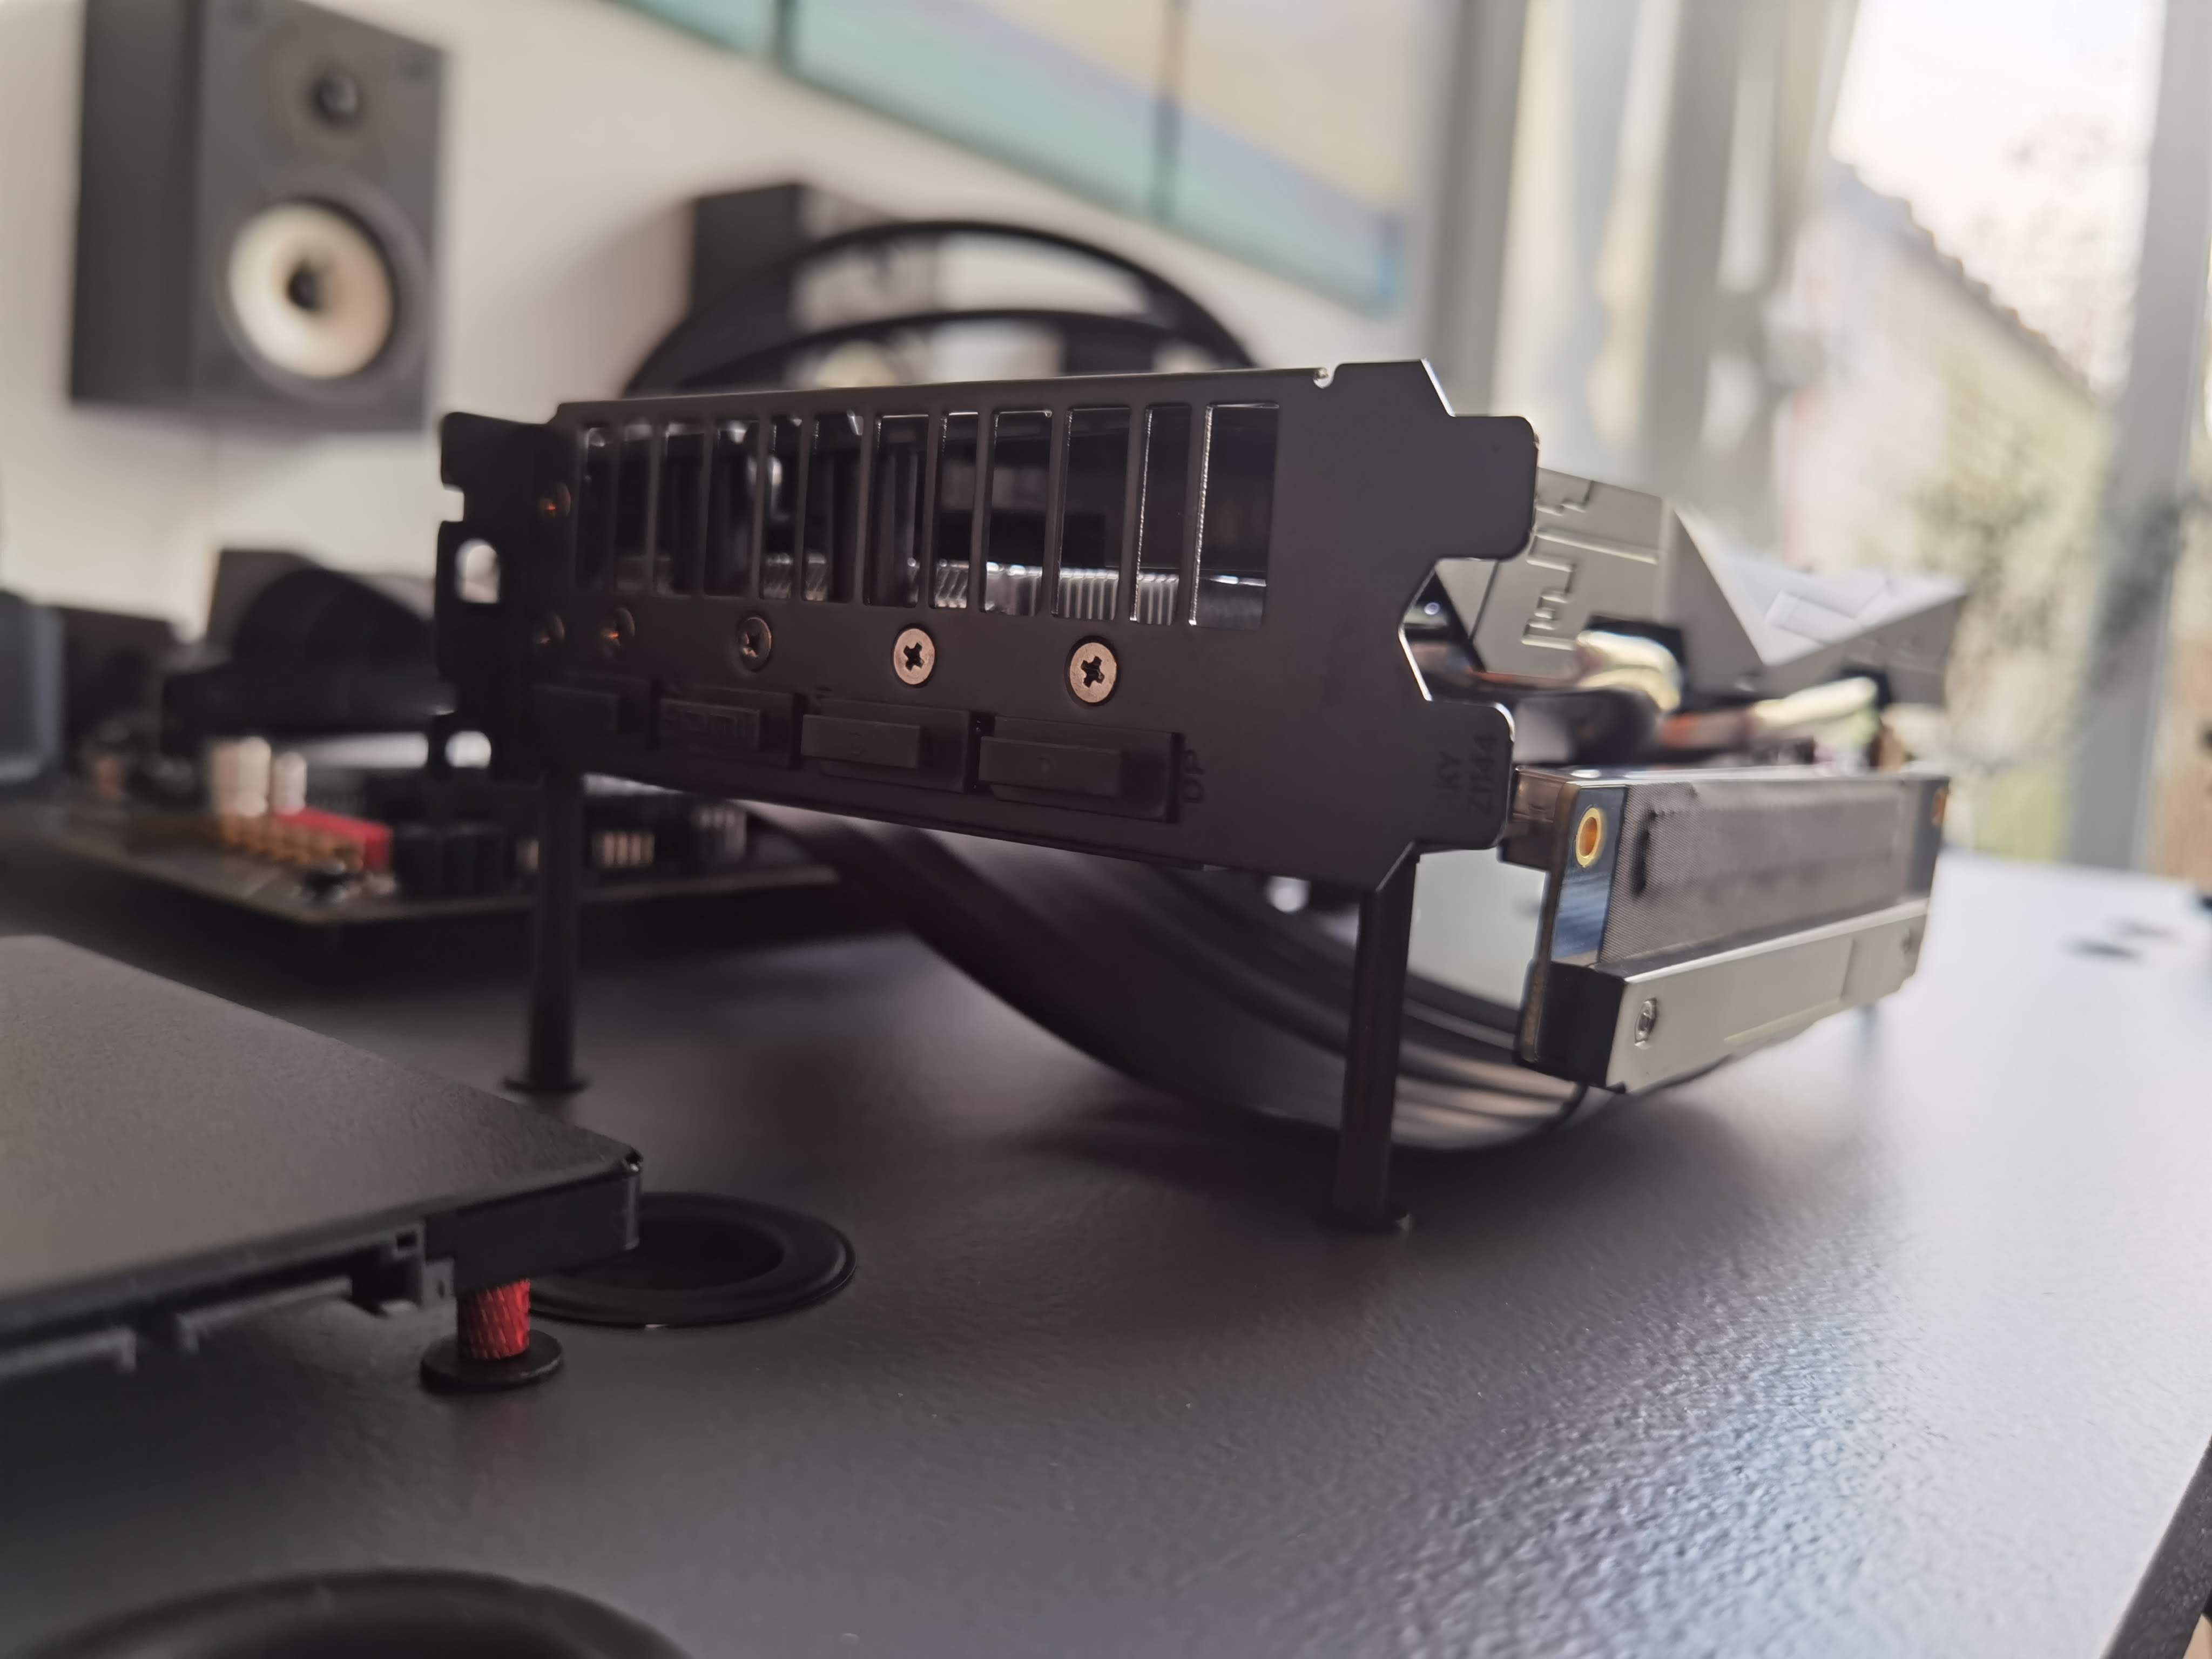
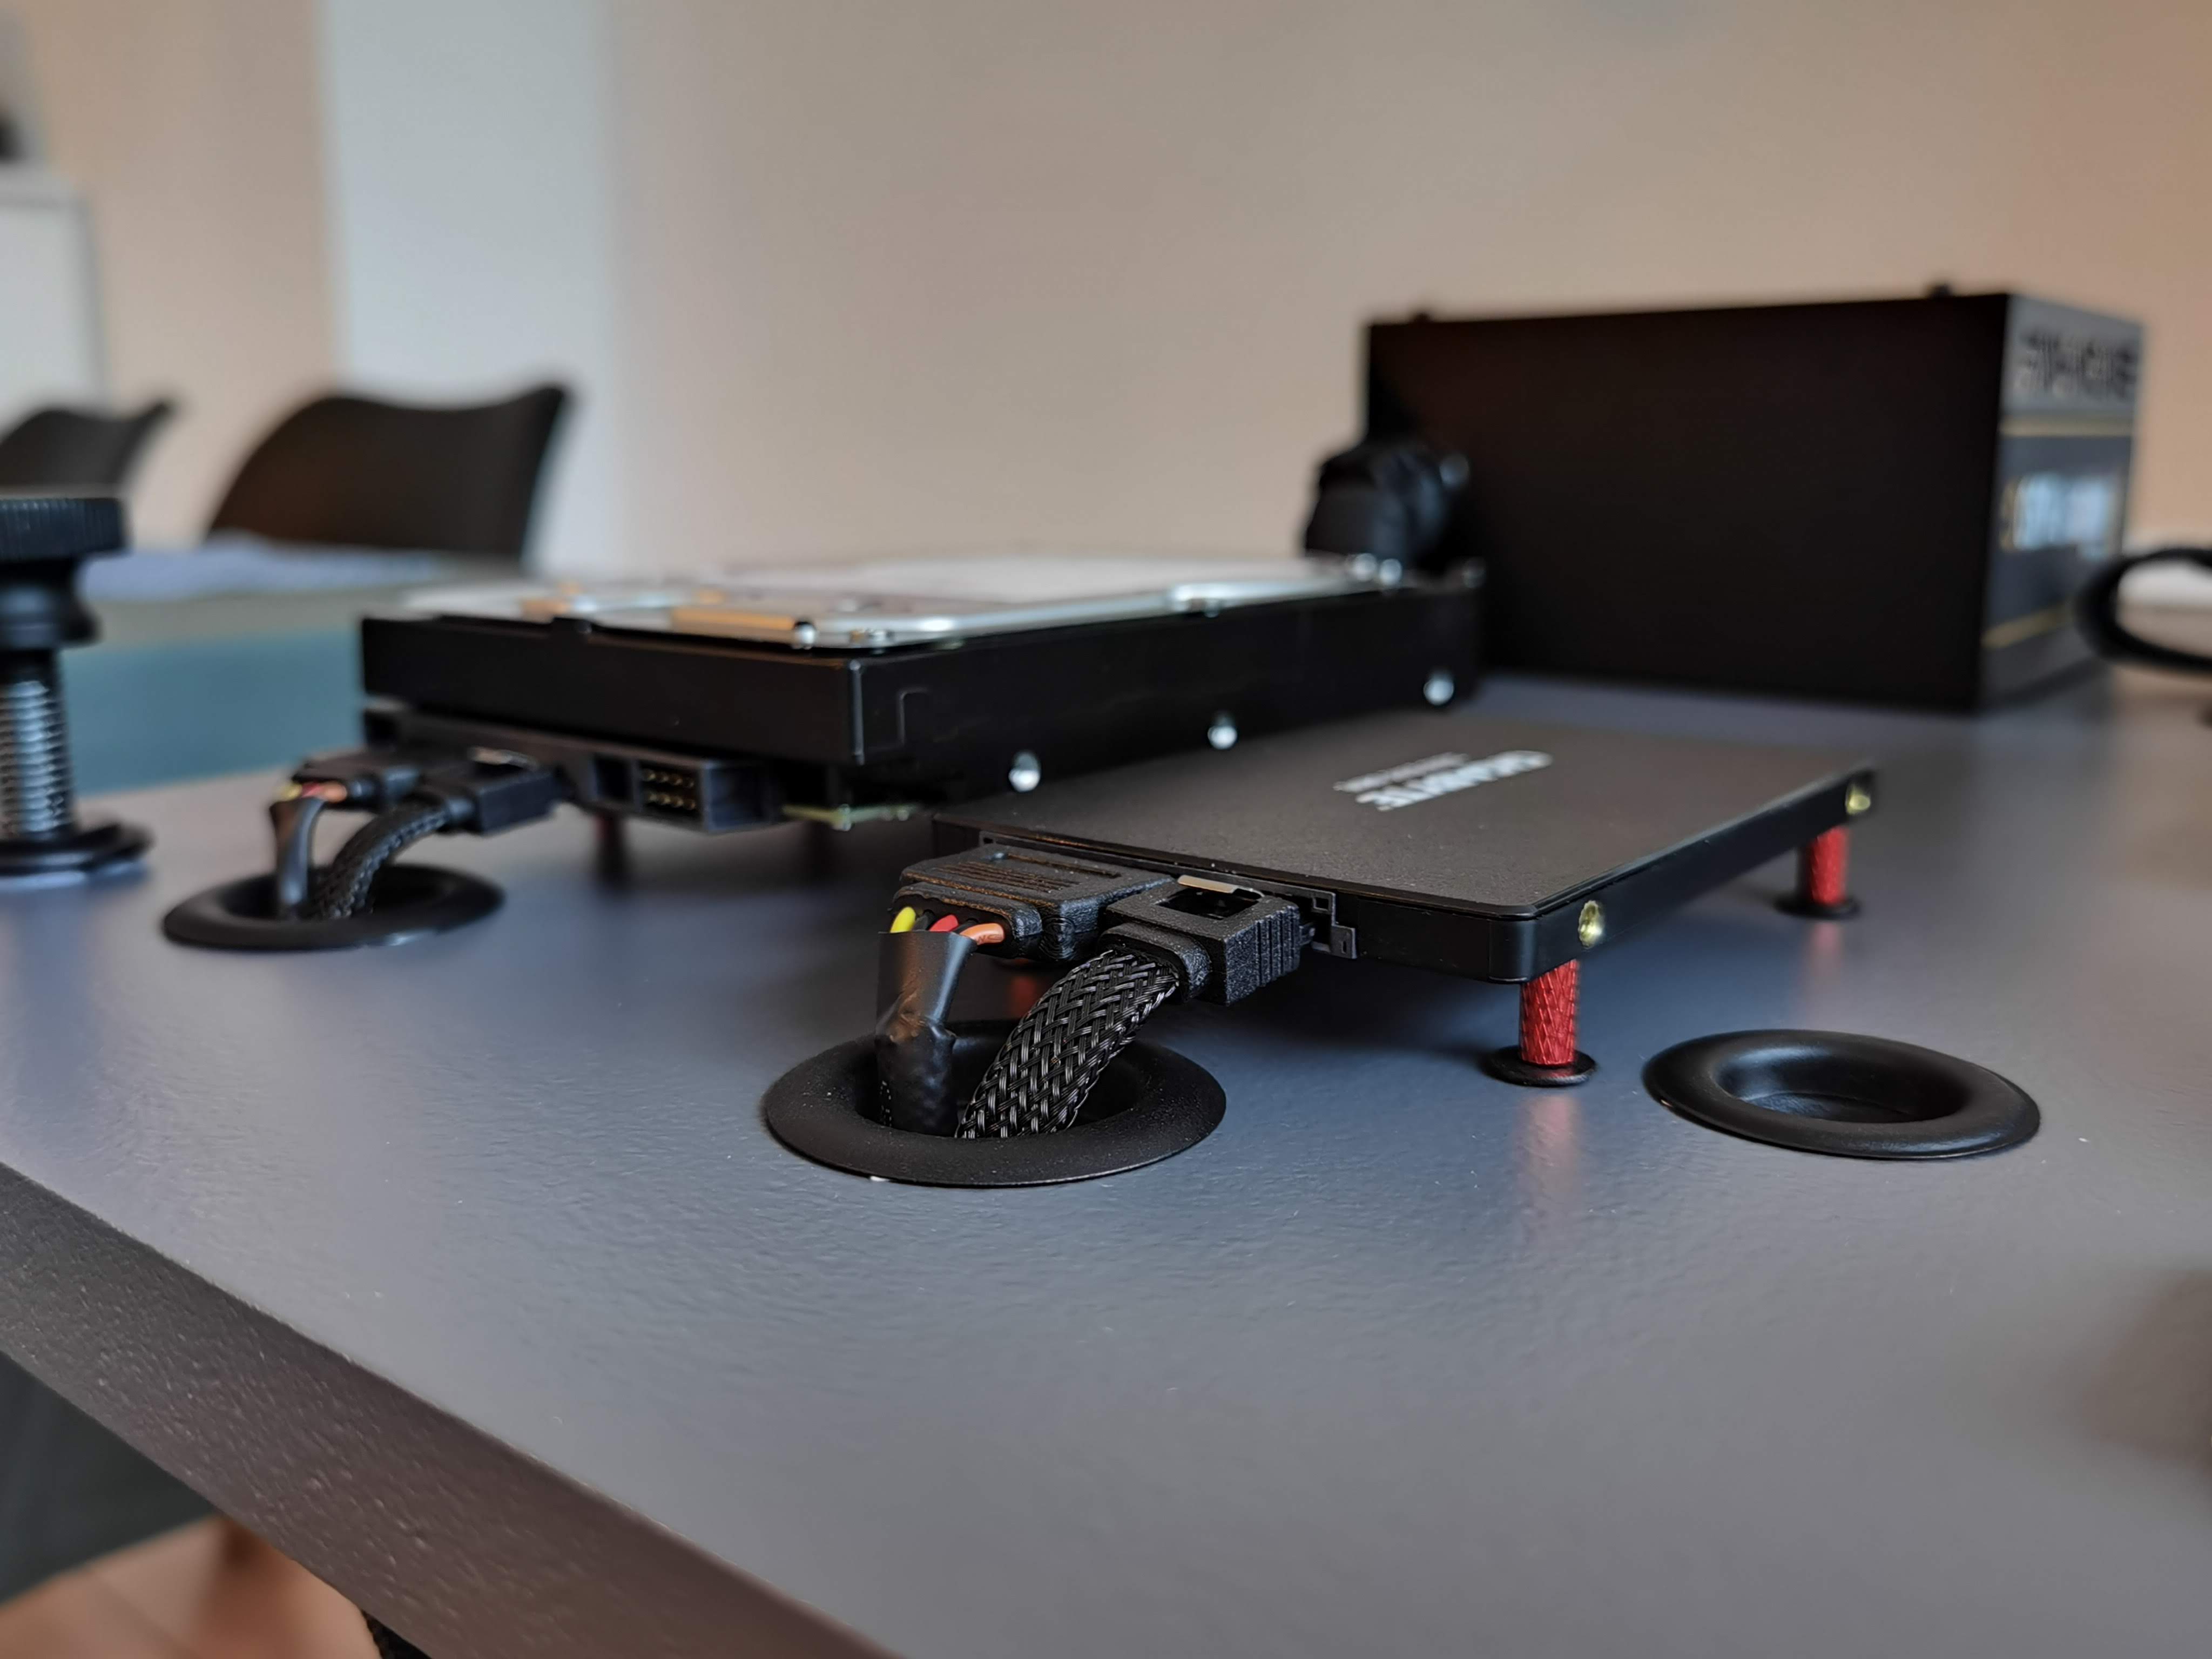
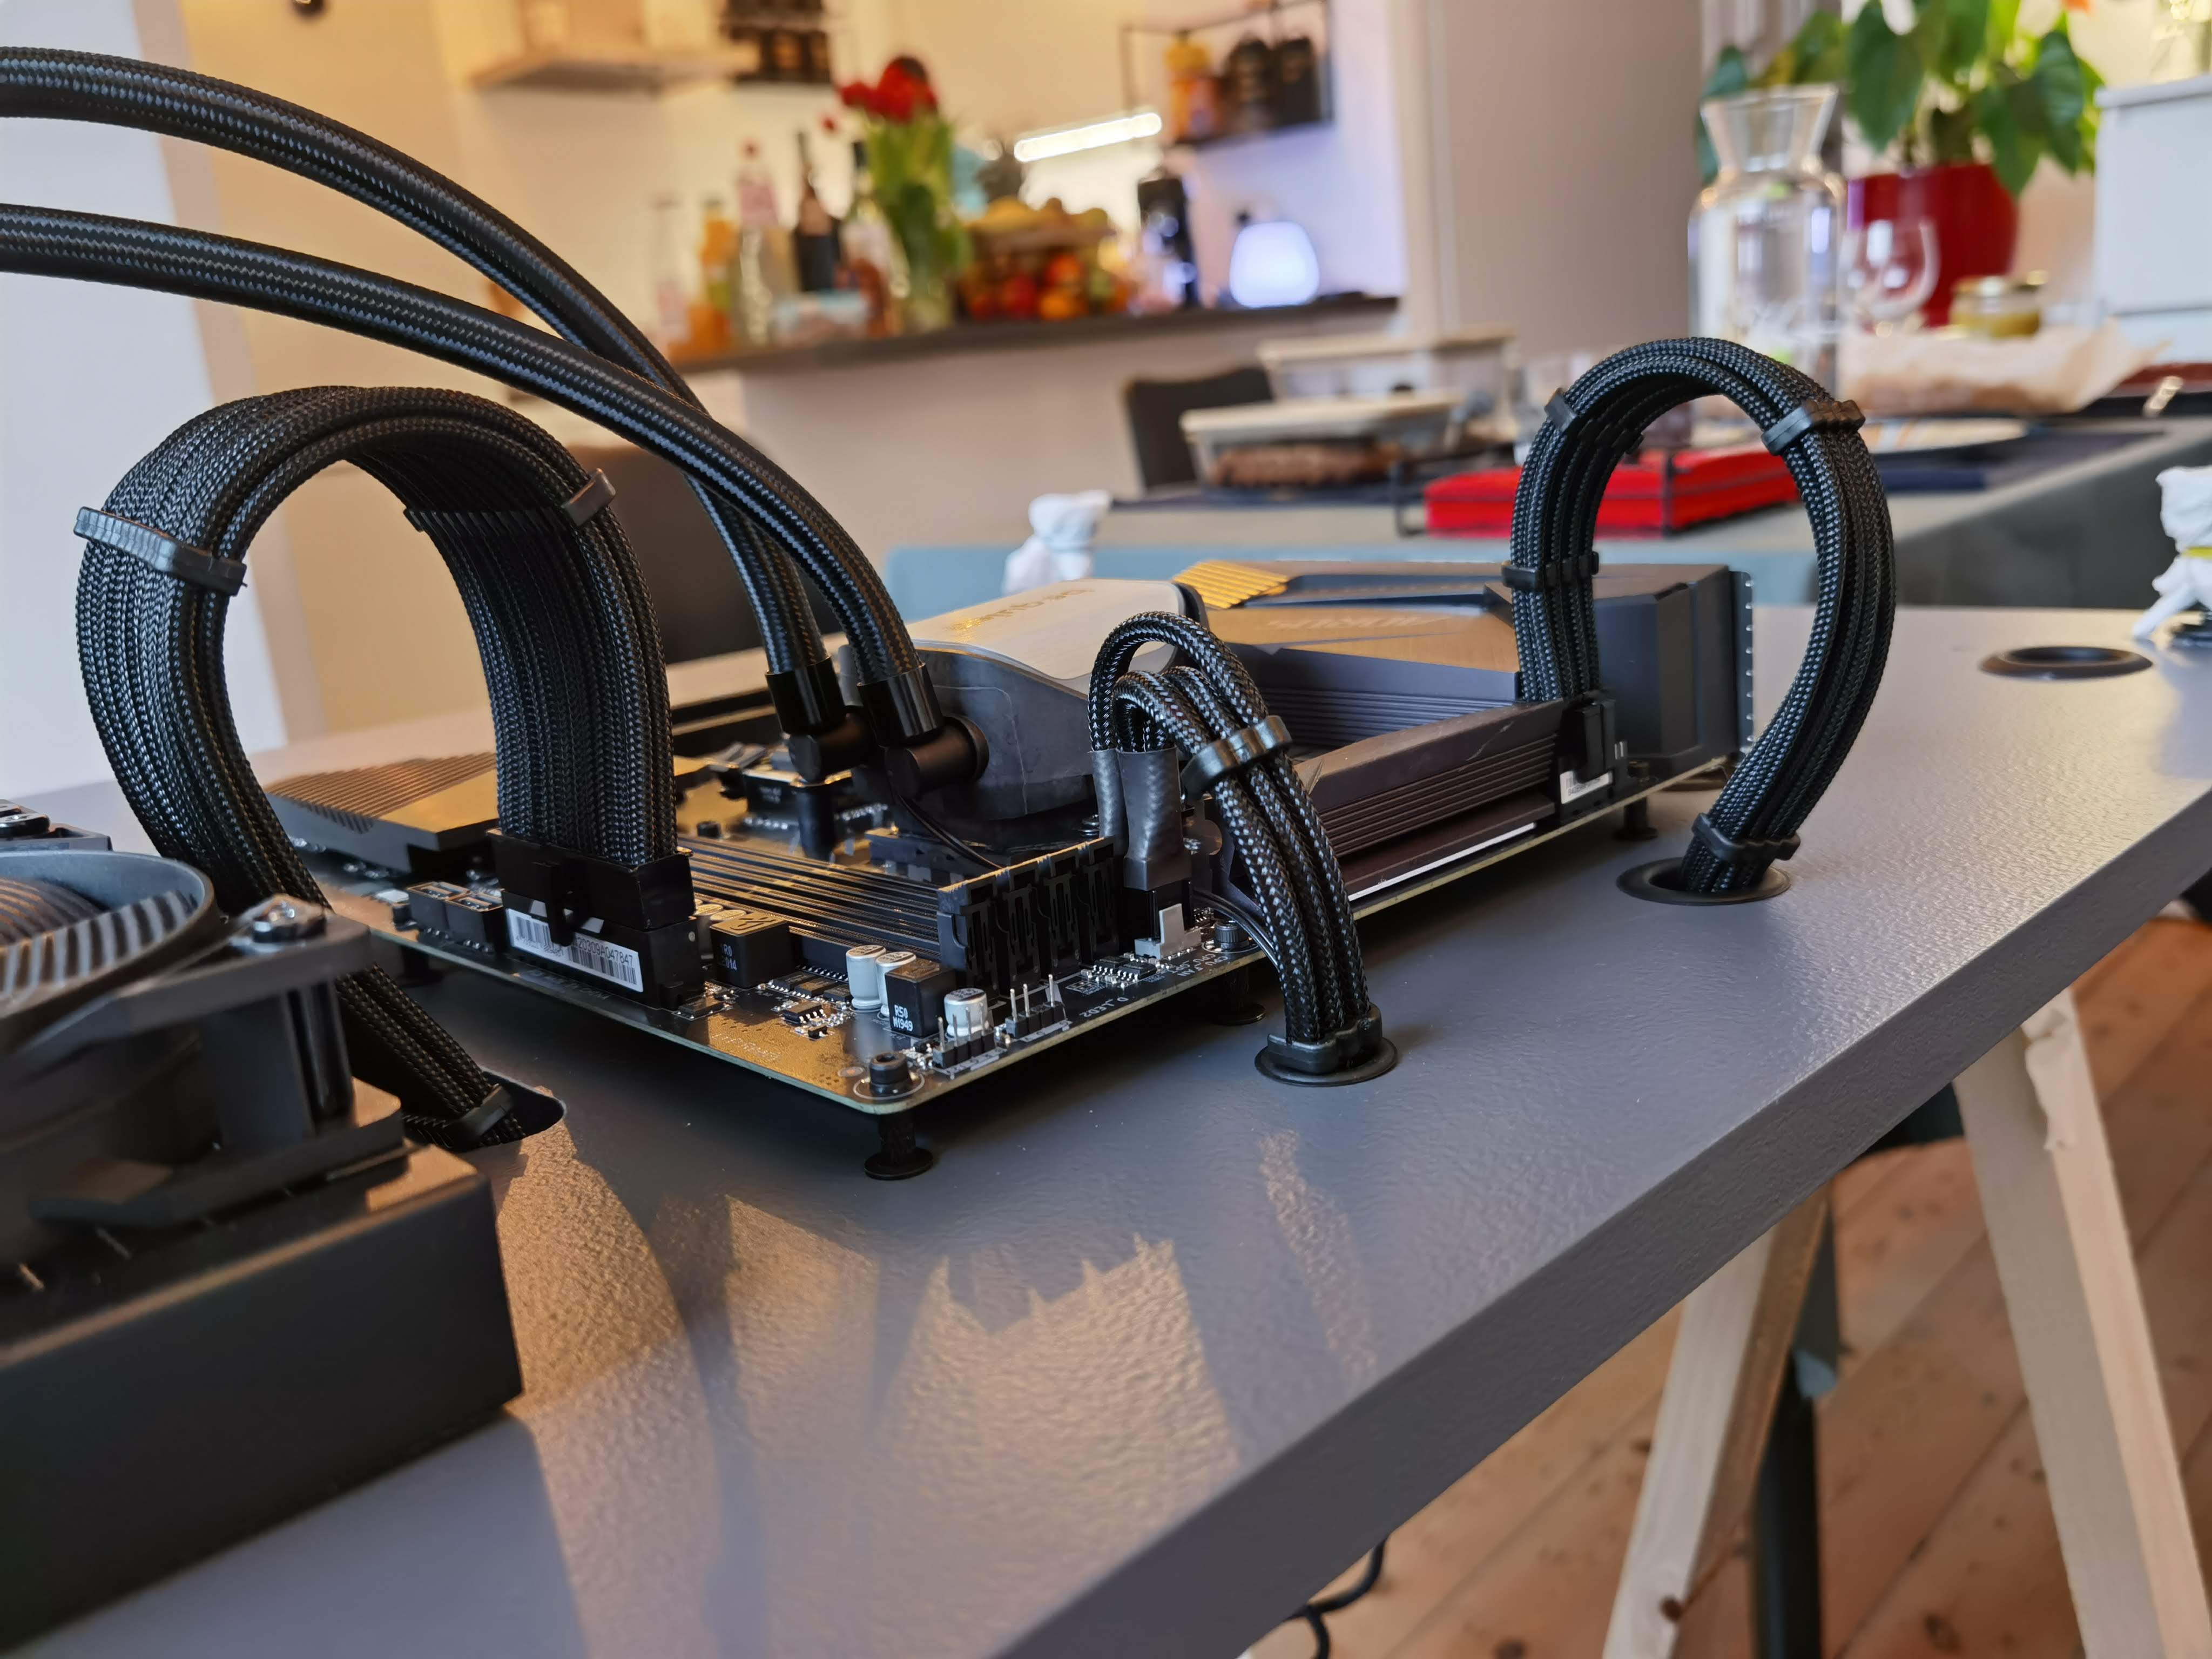
GPU standoffs, HDD/SSD mounts, and the eternal fight against cable spaghetti.
Electronics & Details
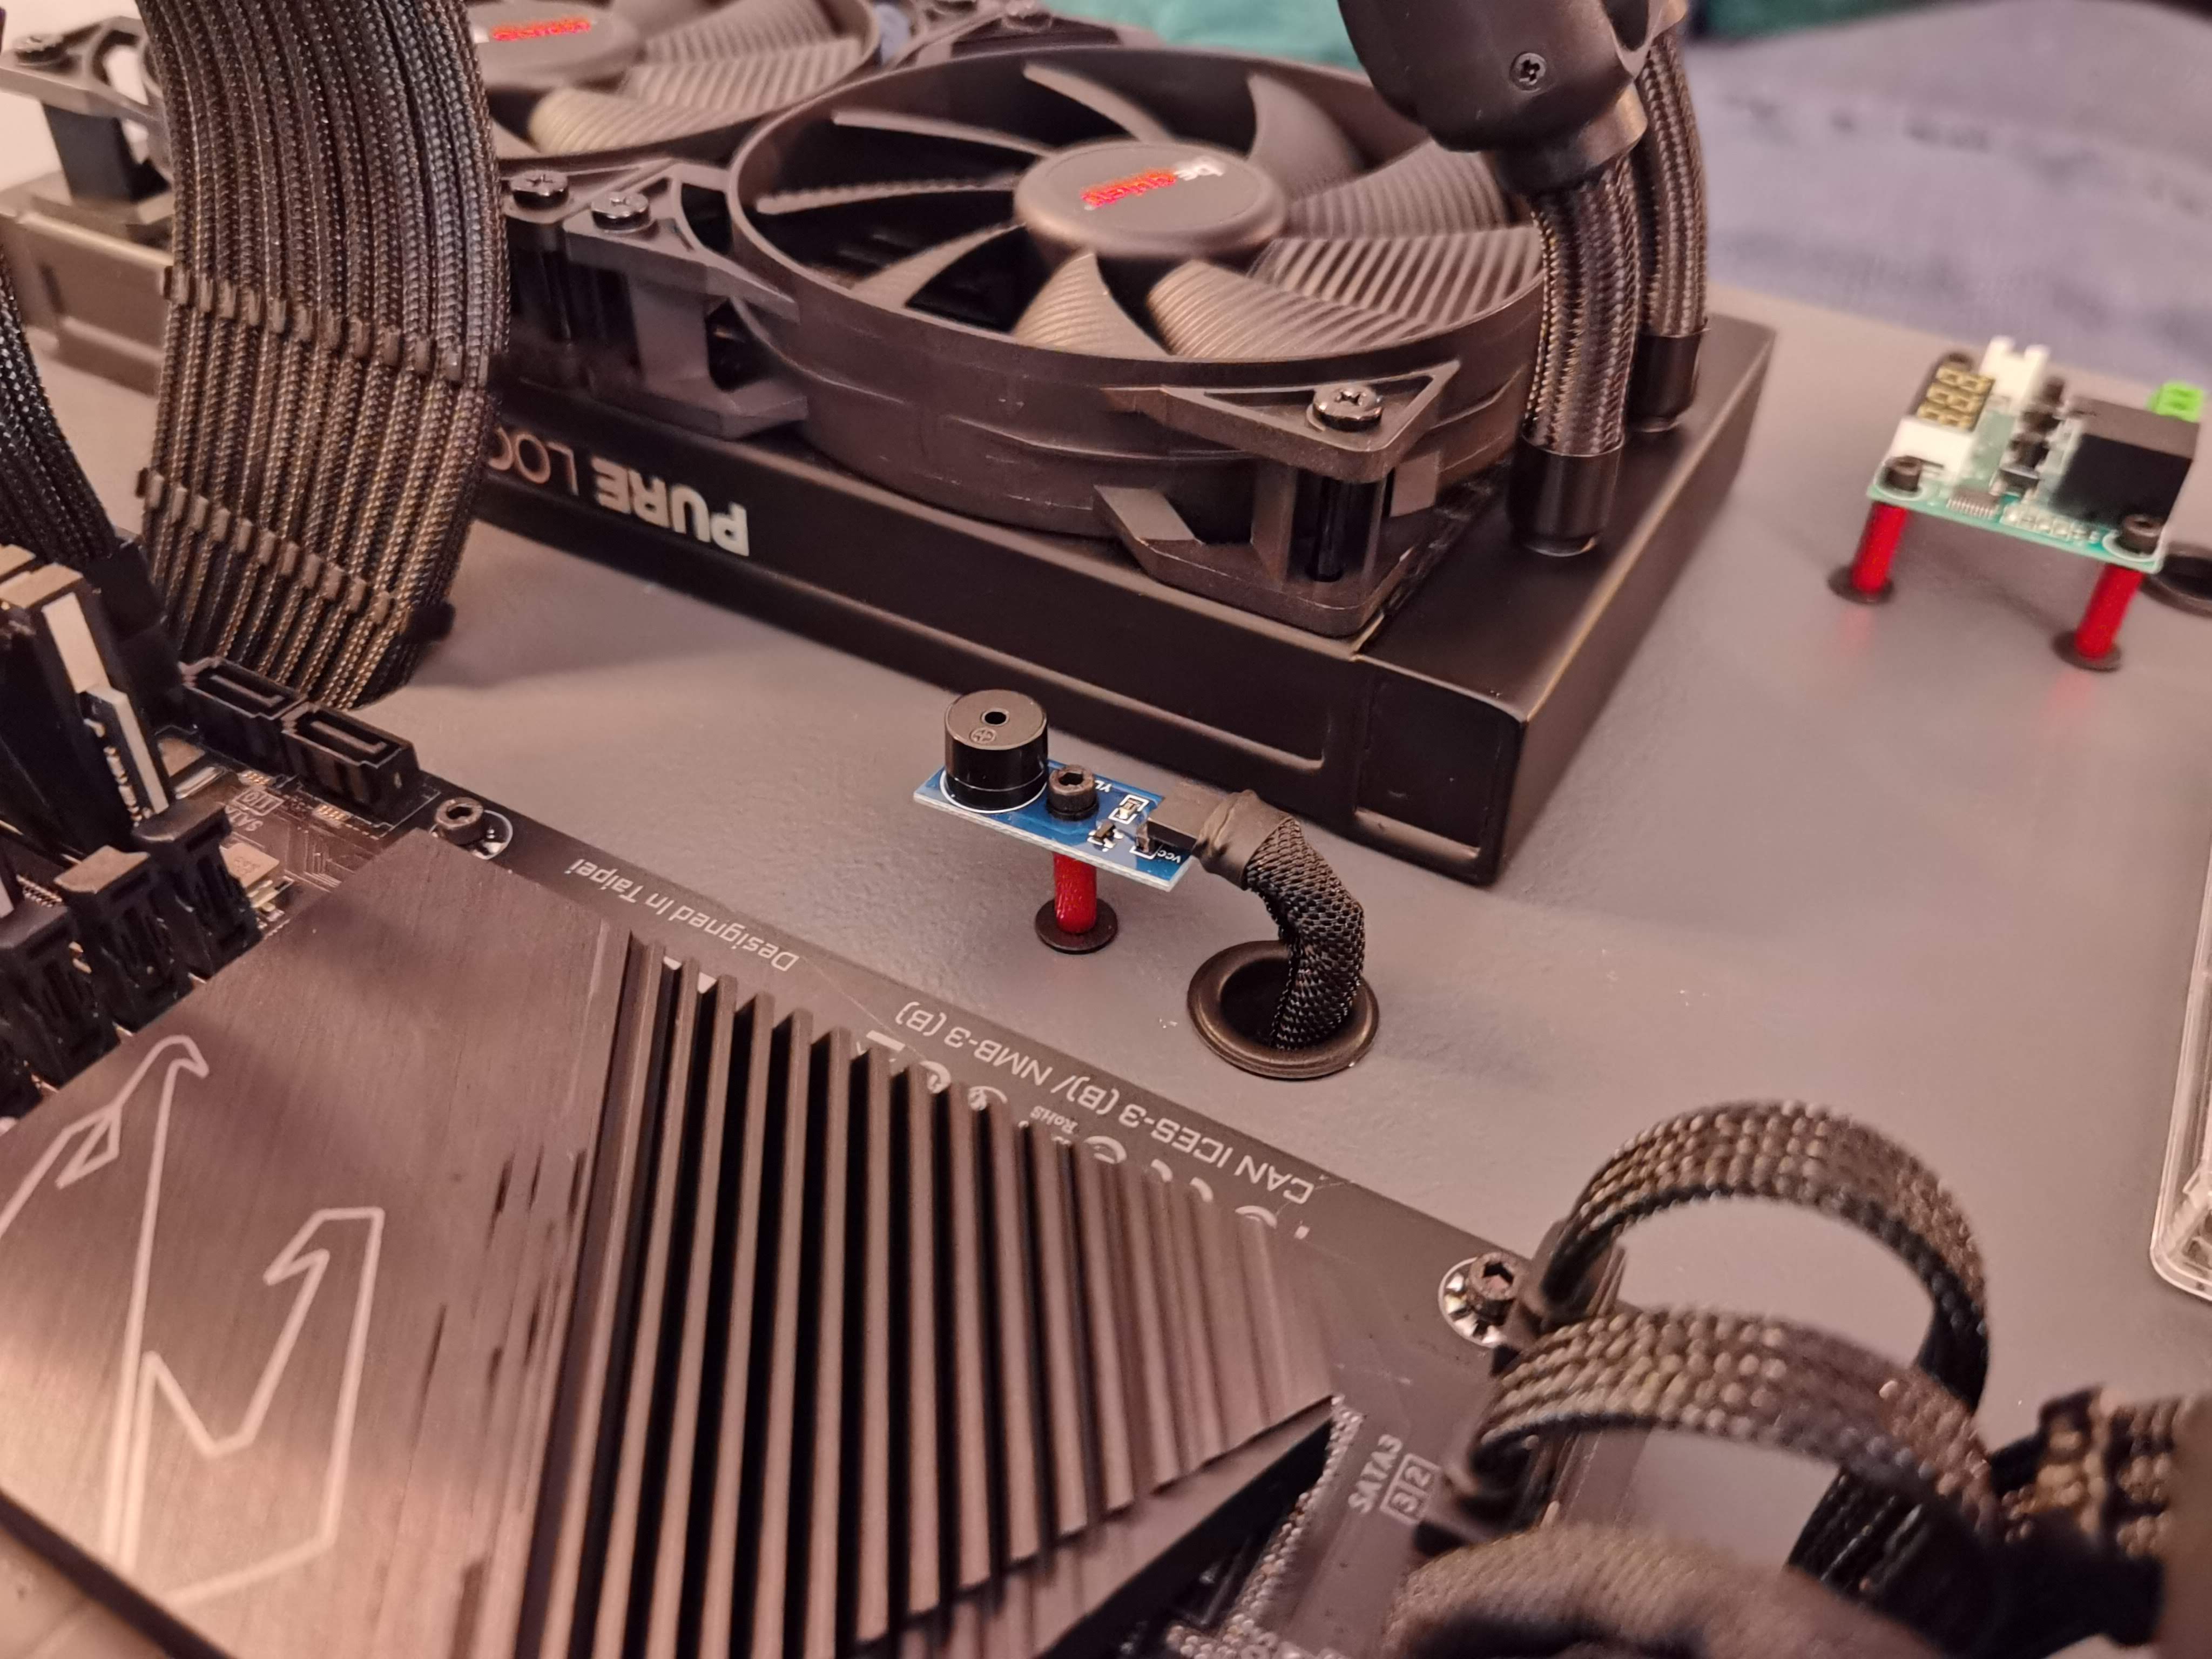
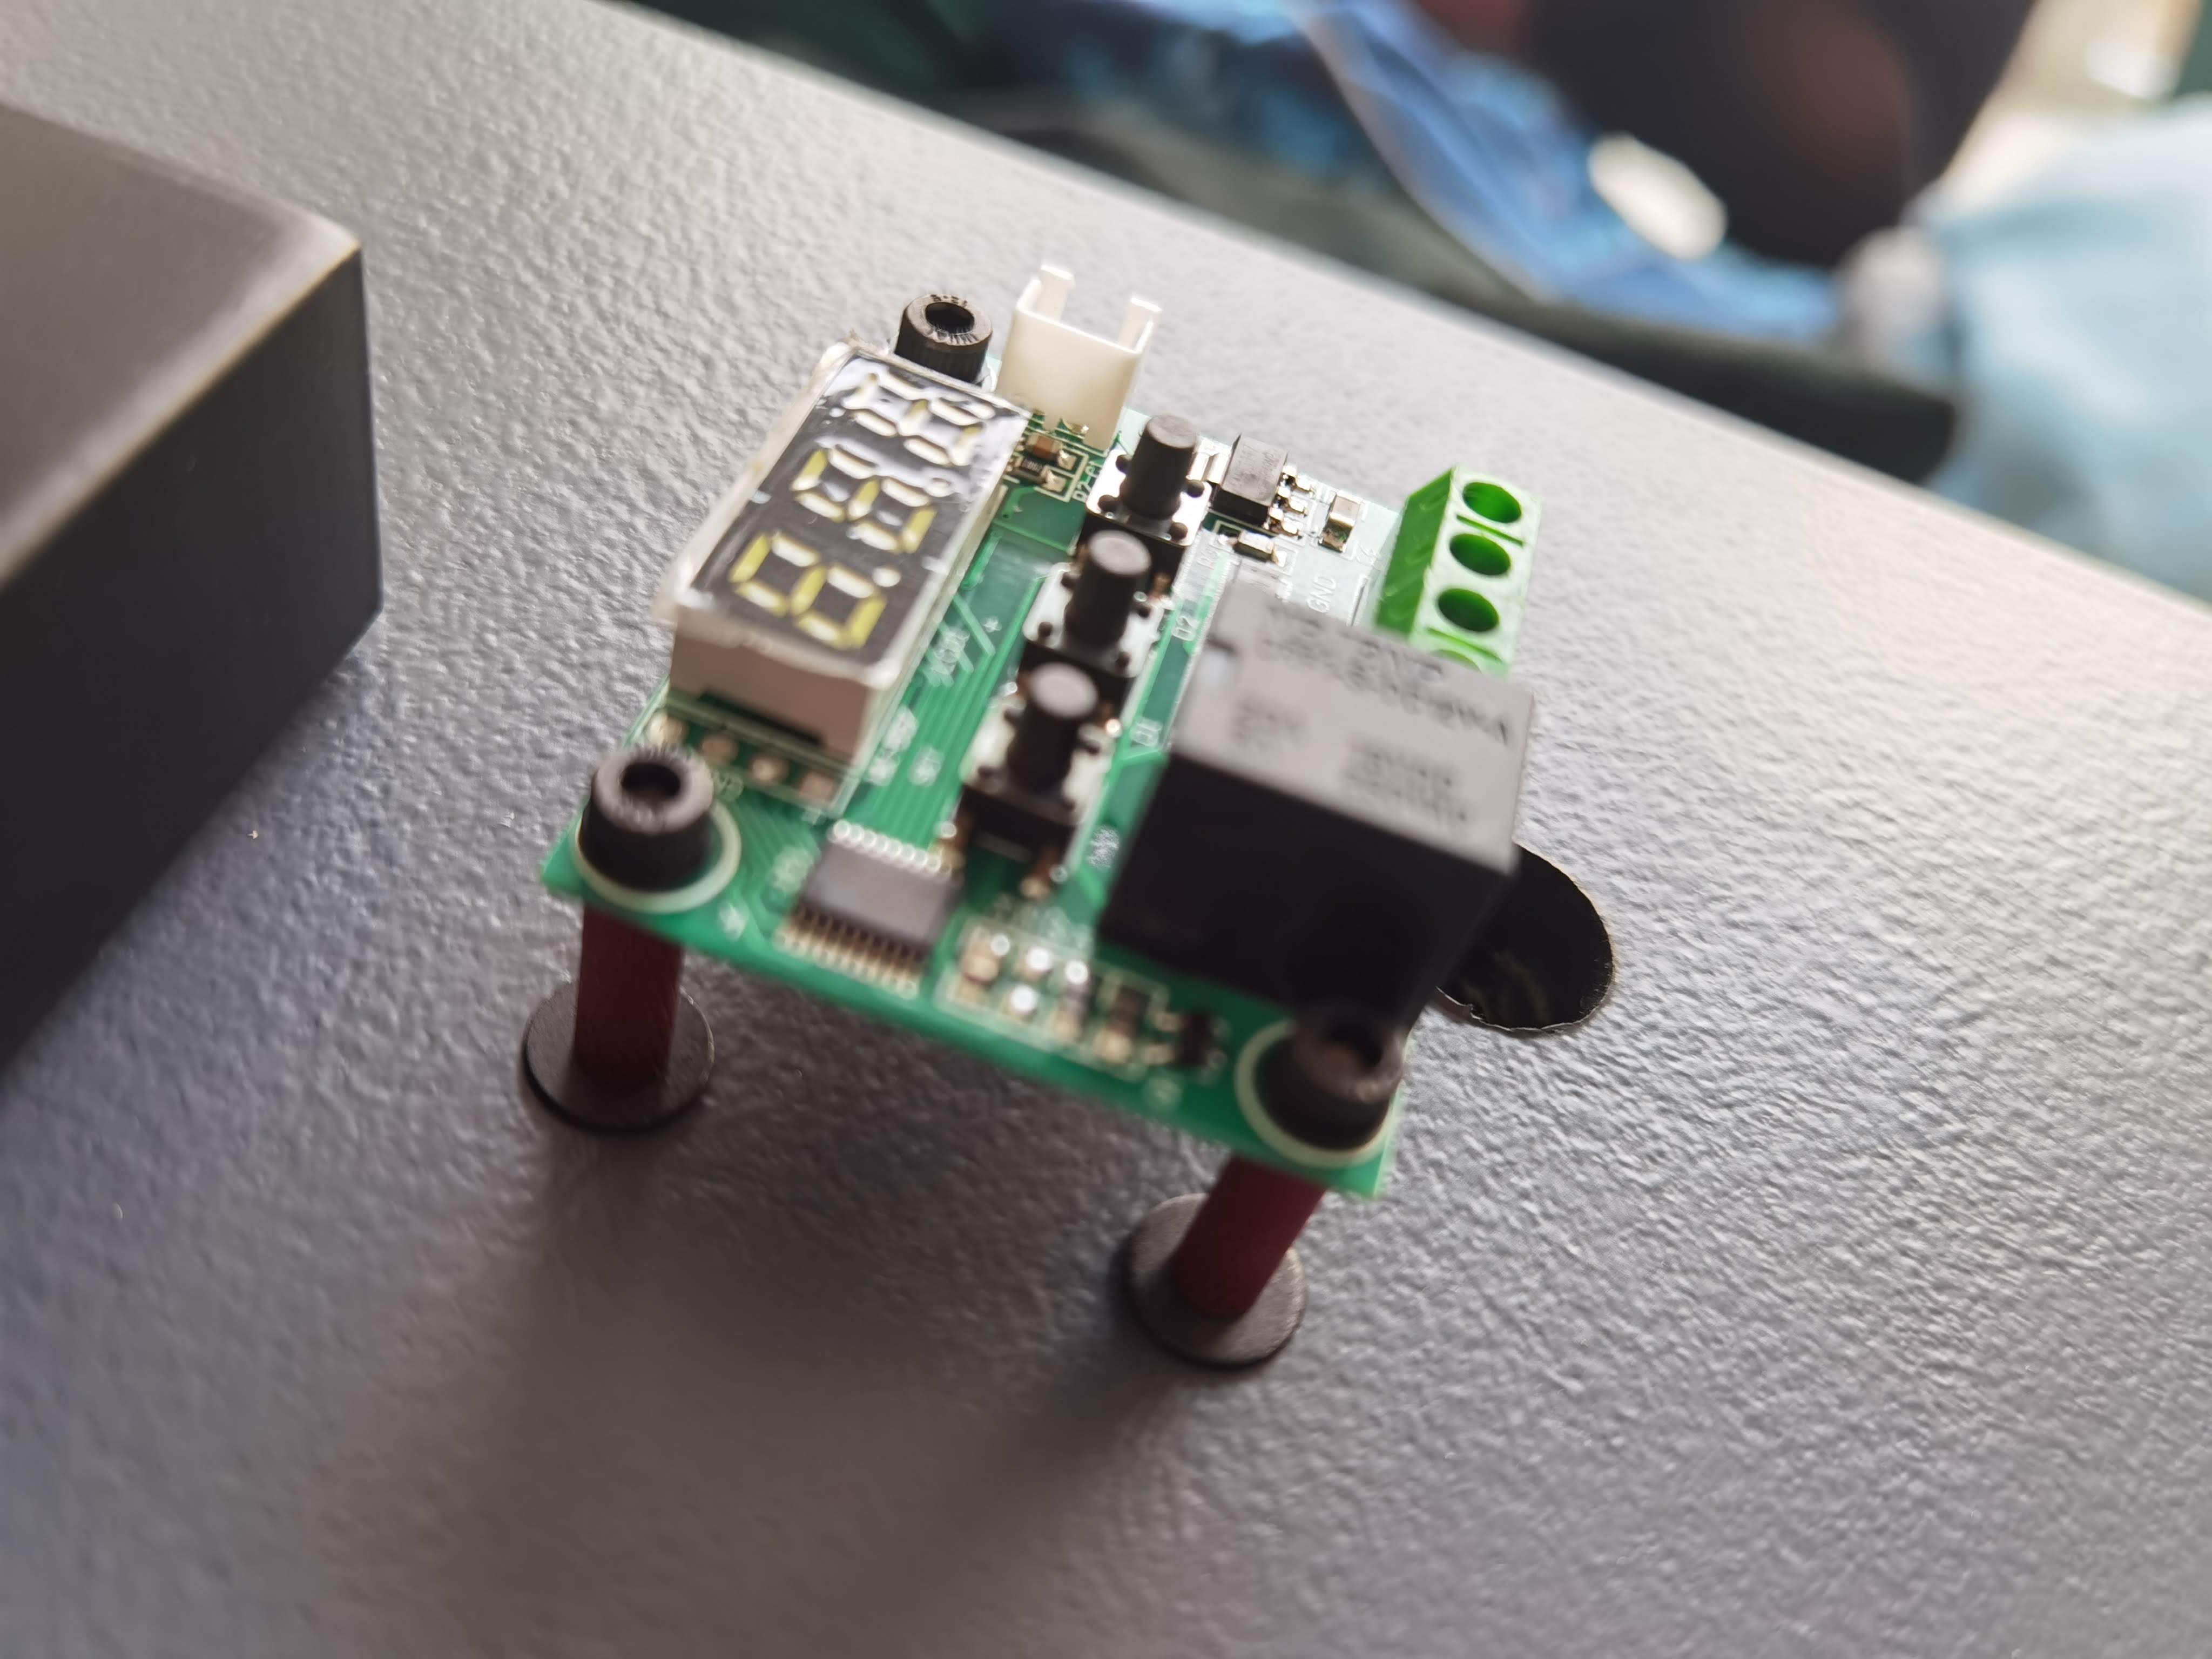
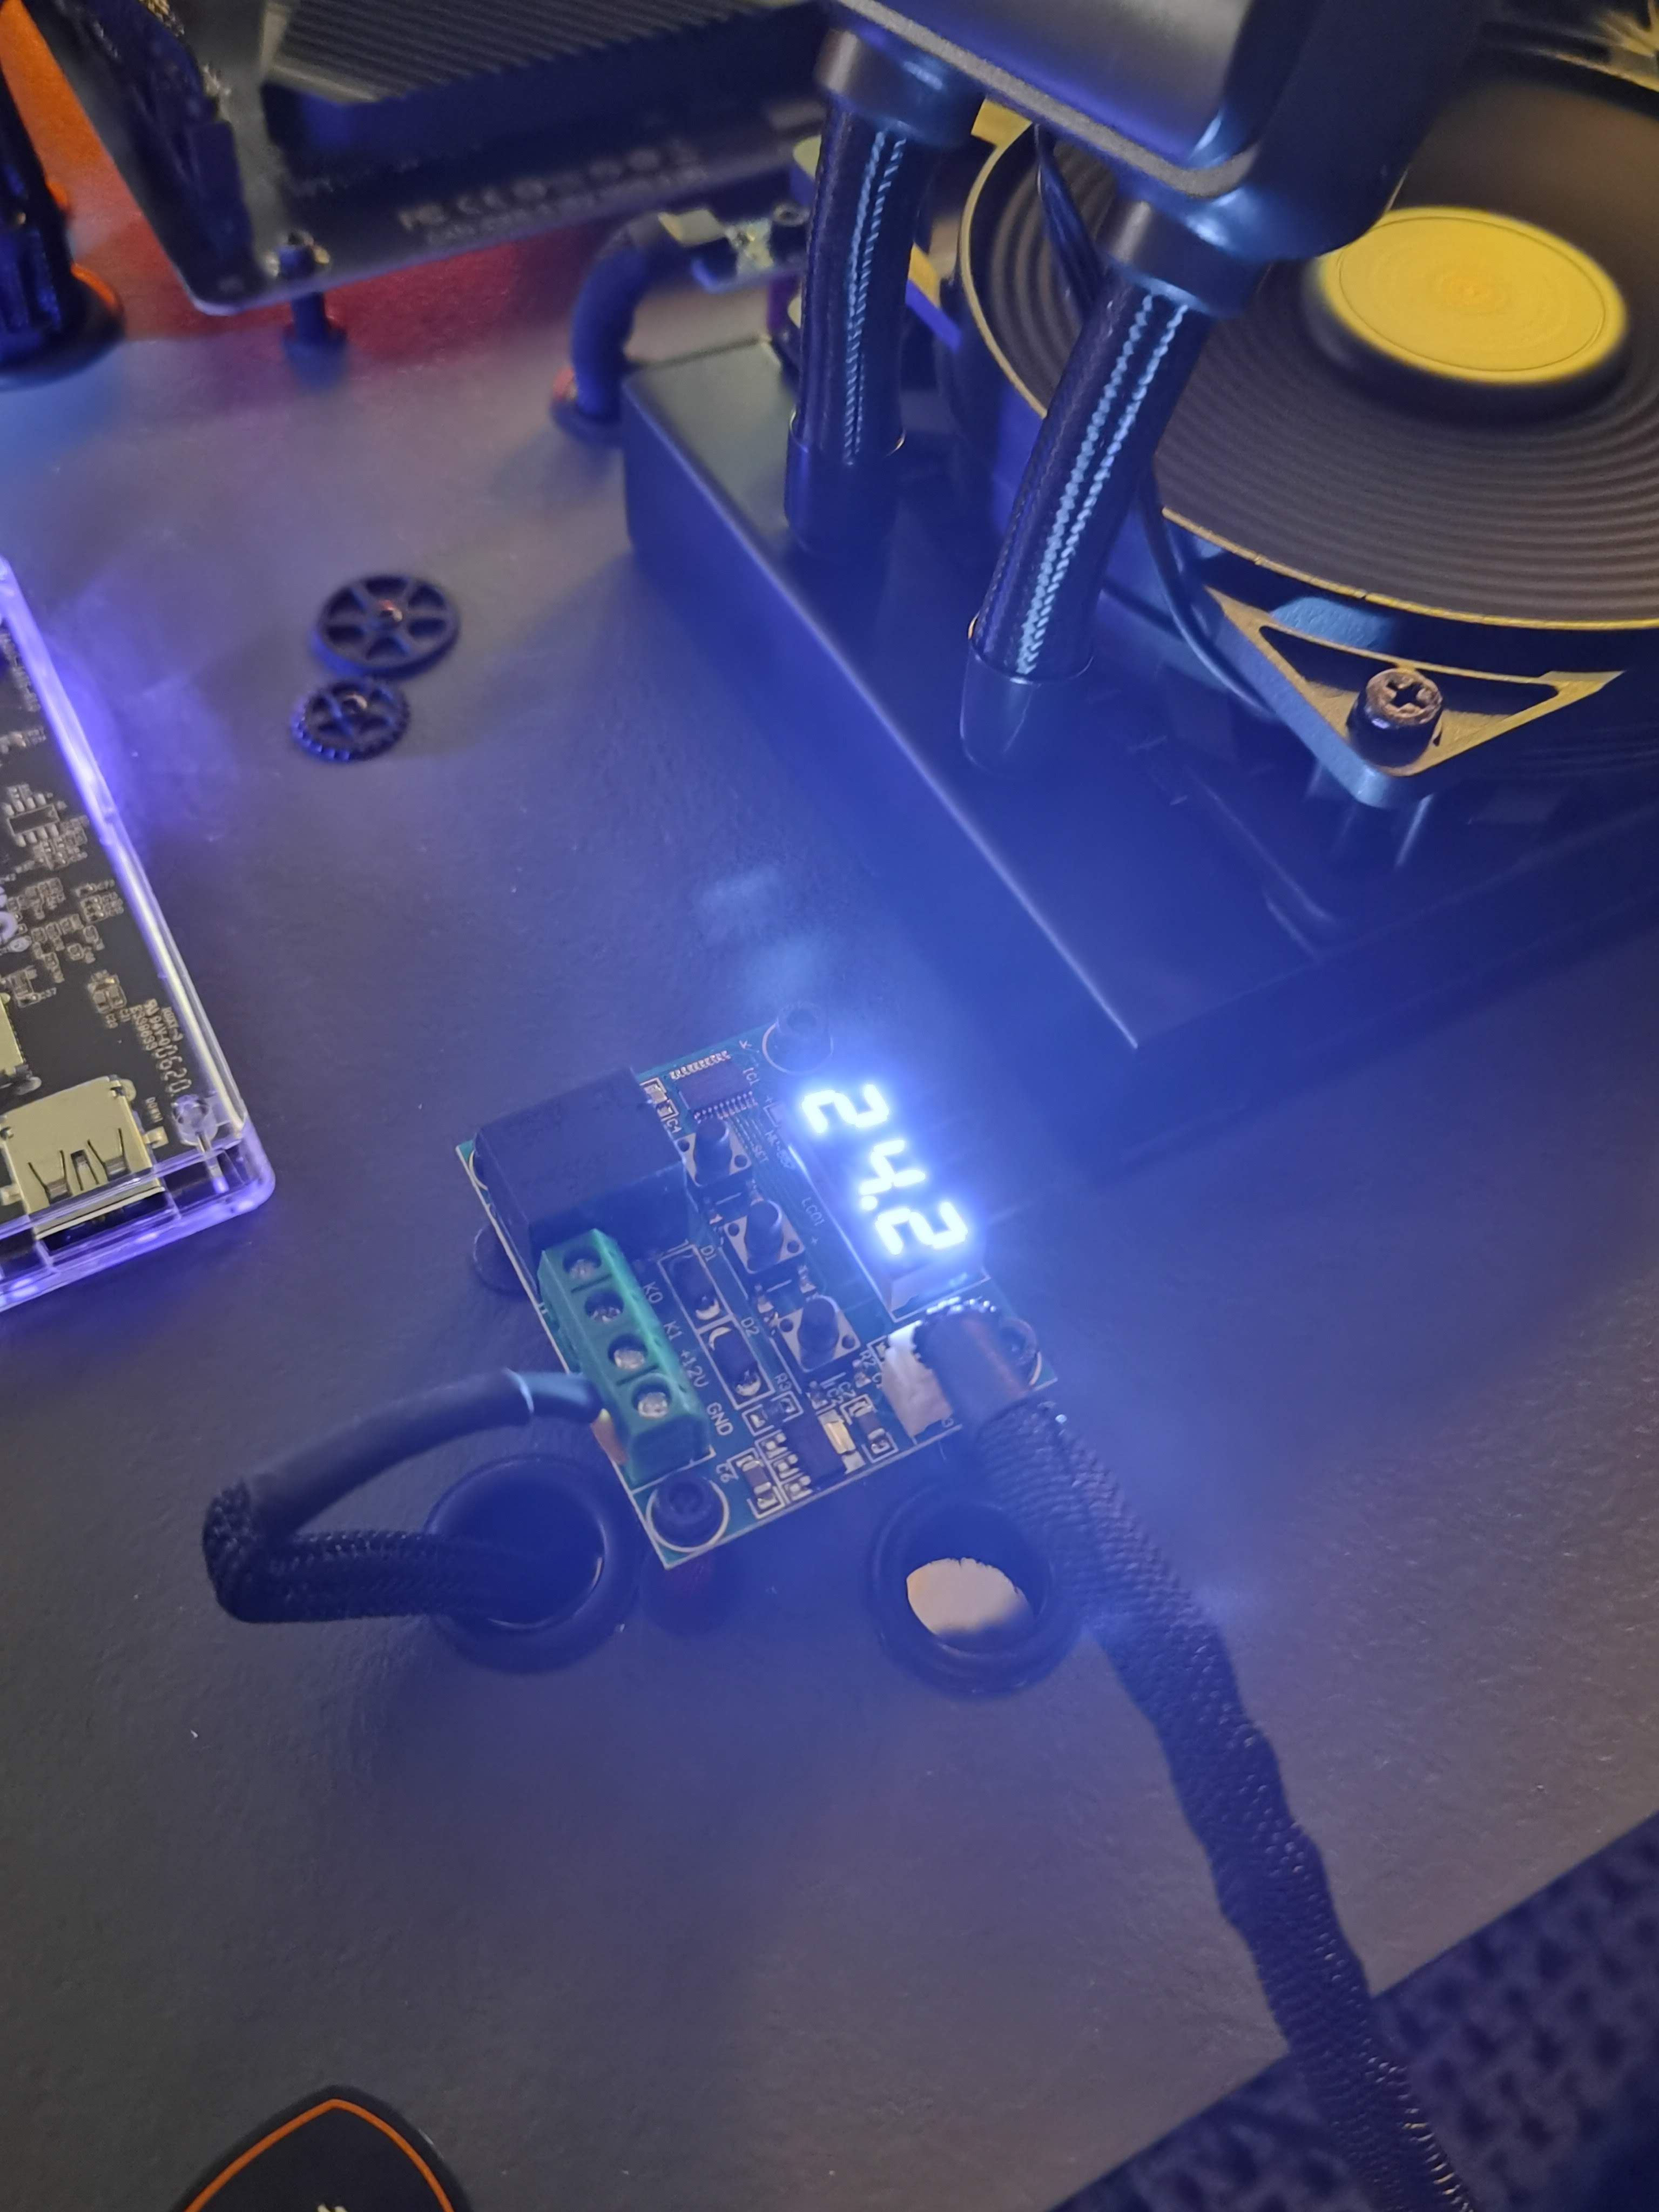
Little mods — piezo buzzer, temp module, and the “because I can” details.
First Power-On
That thrilling moment when you power it on and pray it doesn’t turn into wall-mounted fireworks.